macOS Tutorial (Big Sur - 11.5.1)
Welcome to the beginner installation tutorial for domain deployment on your personal macOS machine!
If your macOS machine runs on M1, follow accurately the special steps listed for your machine in the tutorial.
Step 1: Double check macOS version (optional)
Before you start this tutorial, let’s make sure you’re running the right version of macOS. Click the Apple logo at the top left corner, then click “About this Mac” and you’ll see something like:
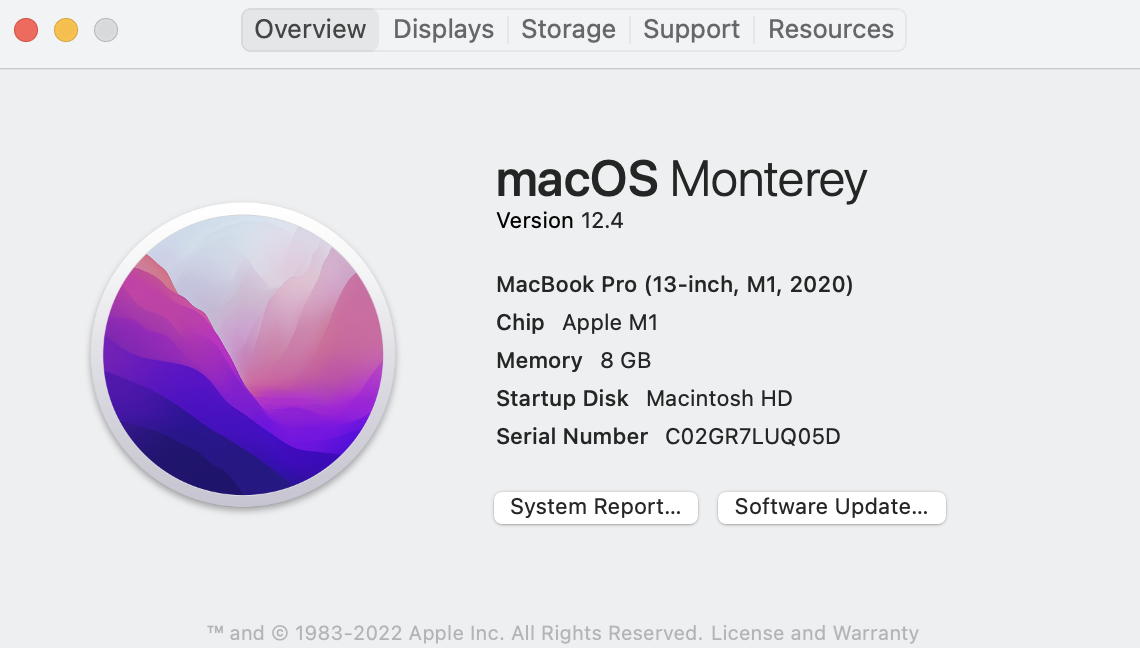
See where this image says “11.5.1”? Yours should say the same! If it does, then you’re ready to begin!
Step 2: Open Terminal
Almost every step of this tutorial will be conducted within the Terminal app of macOS. Start by opening up the Terminal application by typing <Command-Space> and typing “Terminal”. Then hit <Enter>. When Terminal opens, it should look something like this (colors may differ).
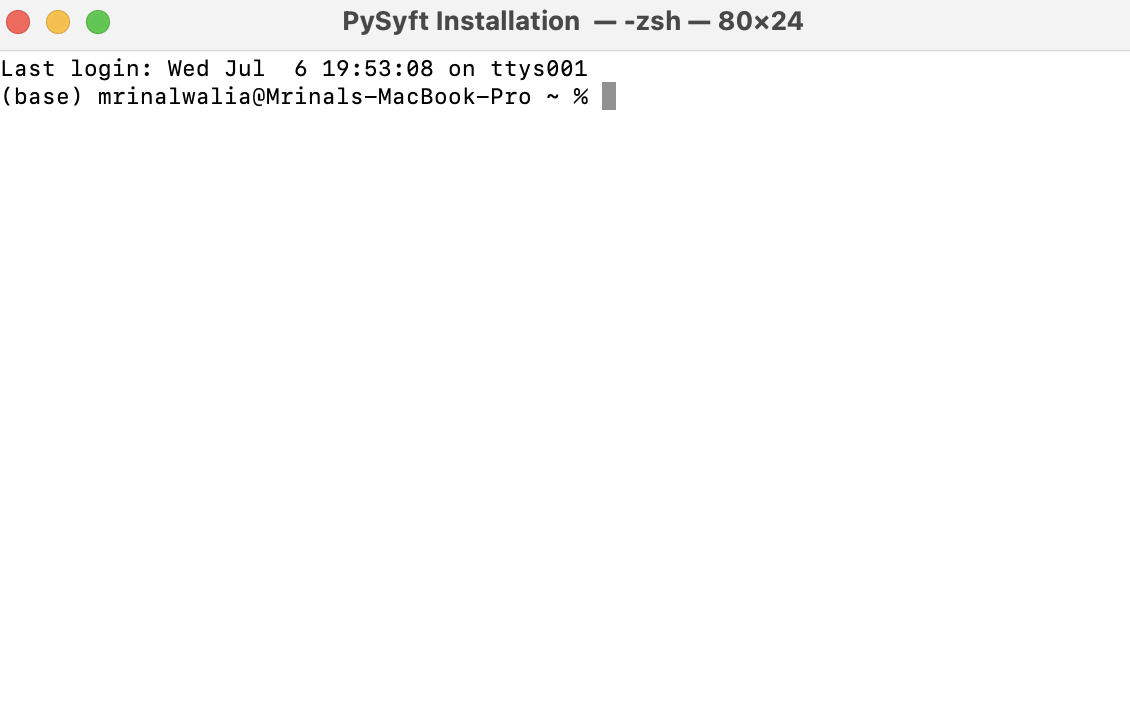
If you see something like this (again… colors my differ), then you’re all set to proceed to the next step!
Step 3: Install Conda
(These steps are from https://docs.anaconda.com/anaconda/install/mac-os/ and are copied here for your convenience and clarity. If any part of your installation doesn’t work, please fall back on the official documentation page.).
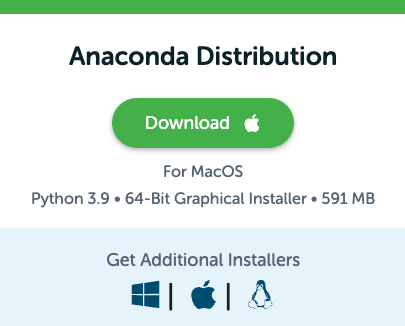
Step 3.1: Open the Anaconda Installer download page by clicking here.
Step 3.2: Find the big green “Download” button and click it. It looks like this:
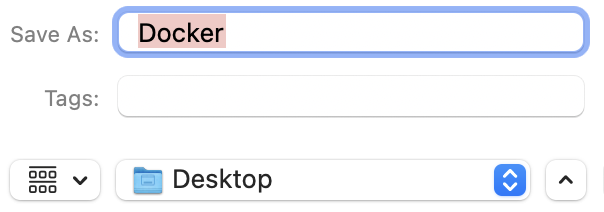
Step 3.3: When prompted with the download, click ‘Save’ (saving to your Desktop is fine)
Step 3.4: Navigate to where you saved the file (probably either your Desktop or Downloads folder), and double click the icon.
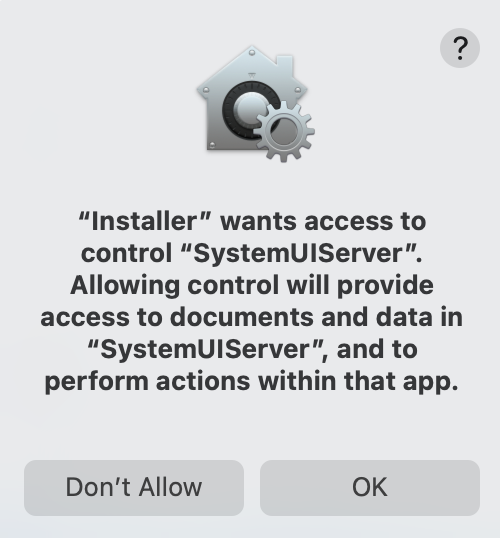
When you do so, you might see a warning like the following:
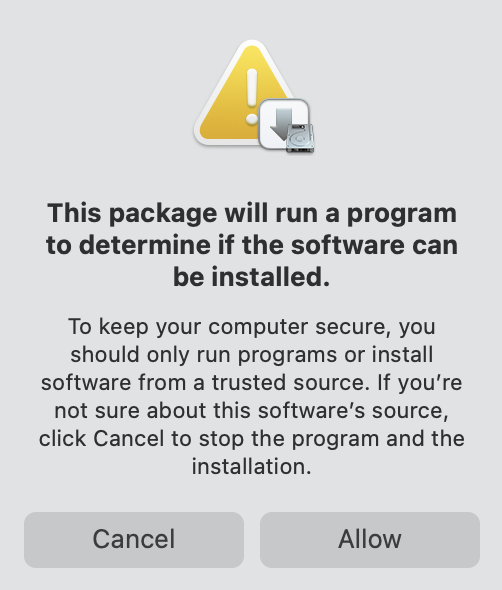
If so, just click ‘Allow’ and then you’ll see a screen like:

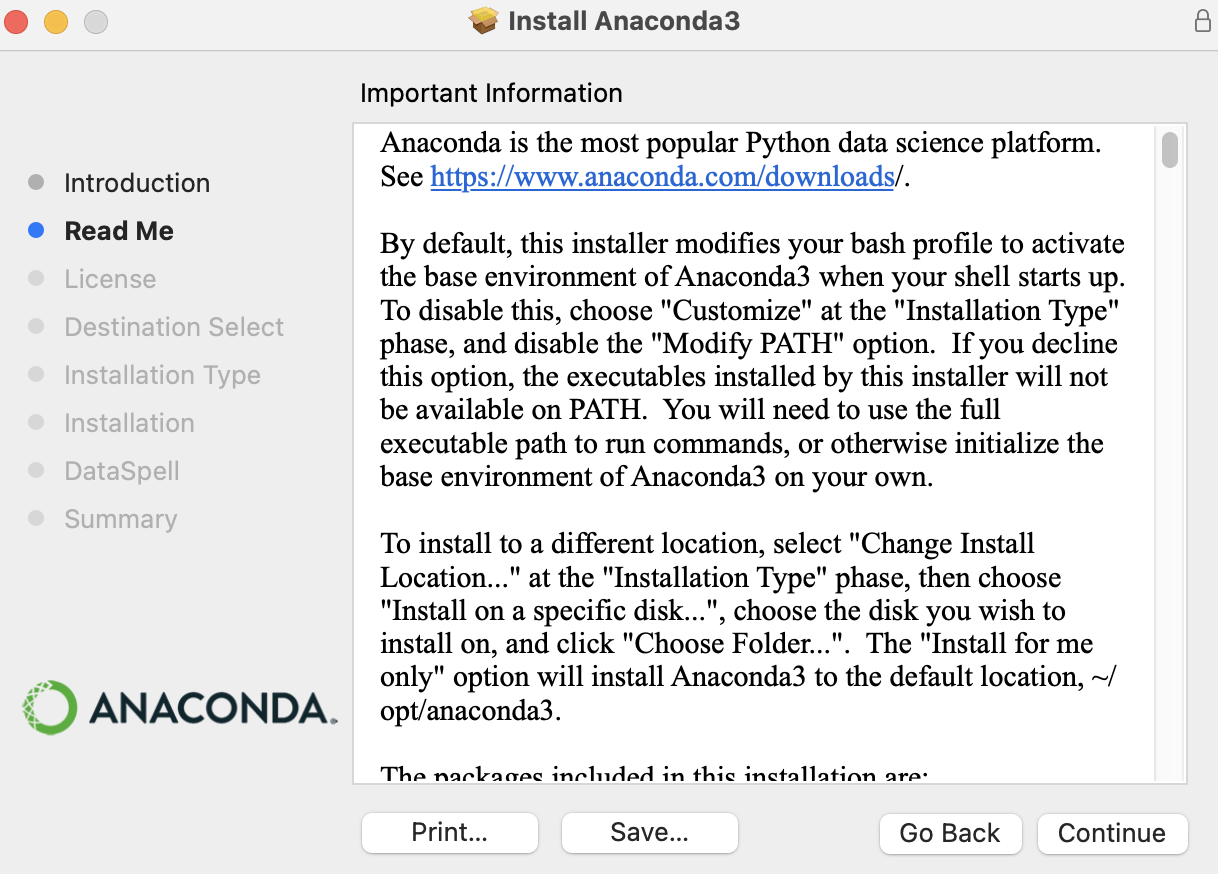
Step 3.5: Click “Continue” and you’ll see a screen like this:
Step 3.6: Click “Continue” and you’ll see a screen like this:
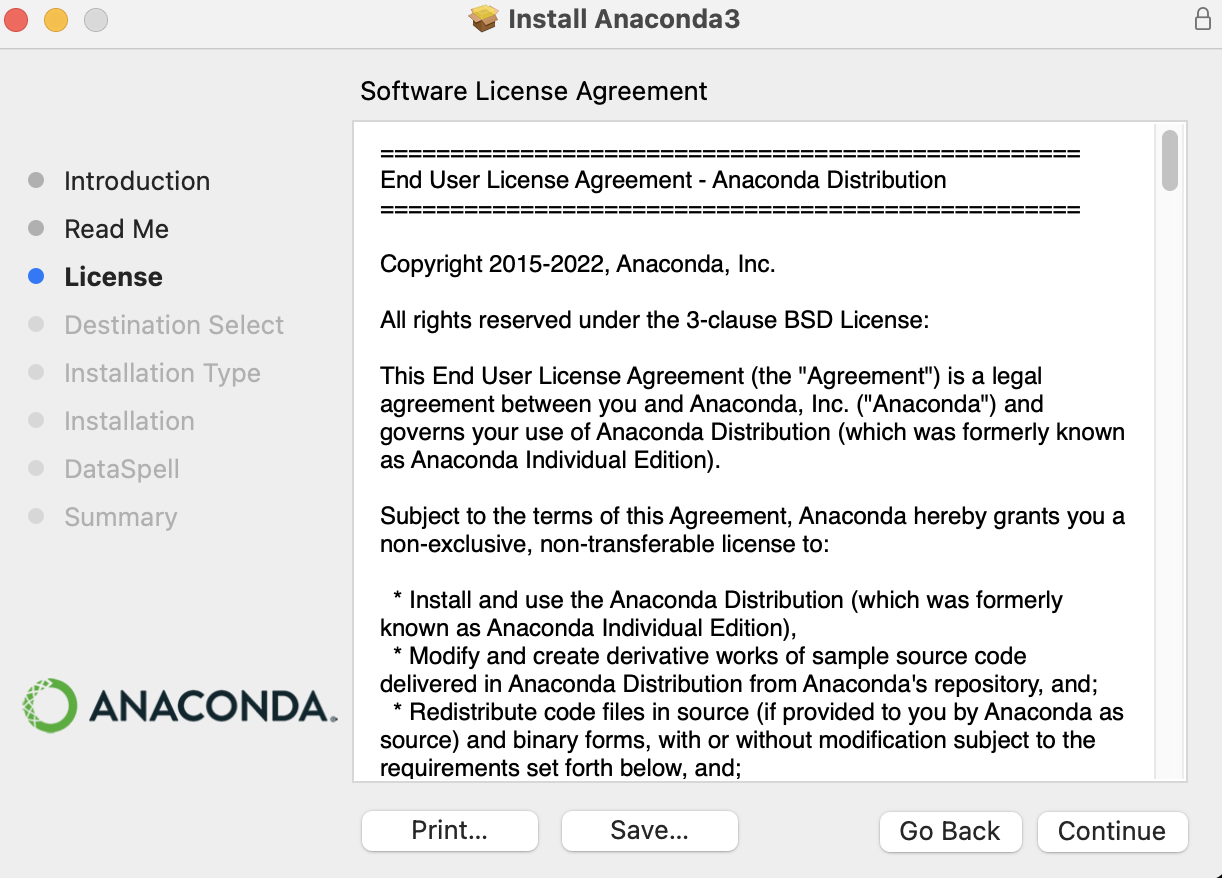
Step 3.6: Click “Continue” and you’ll see a screen like this:

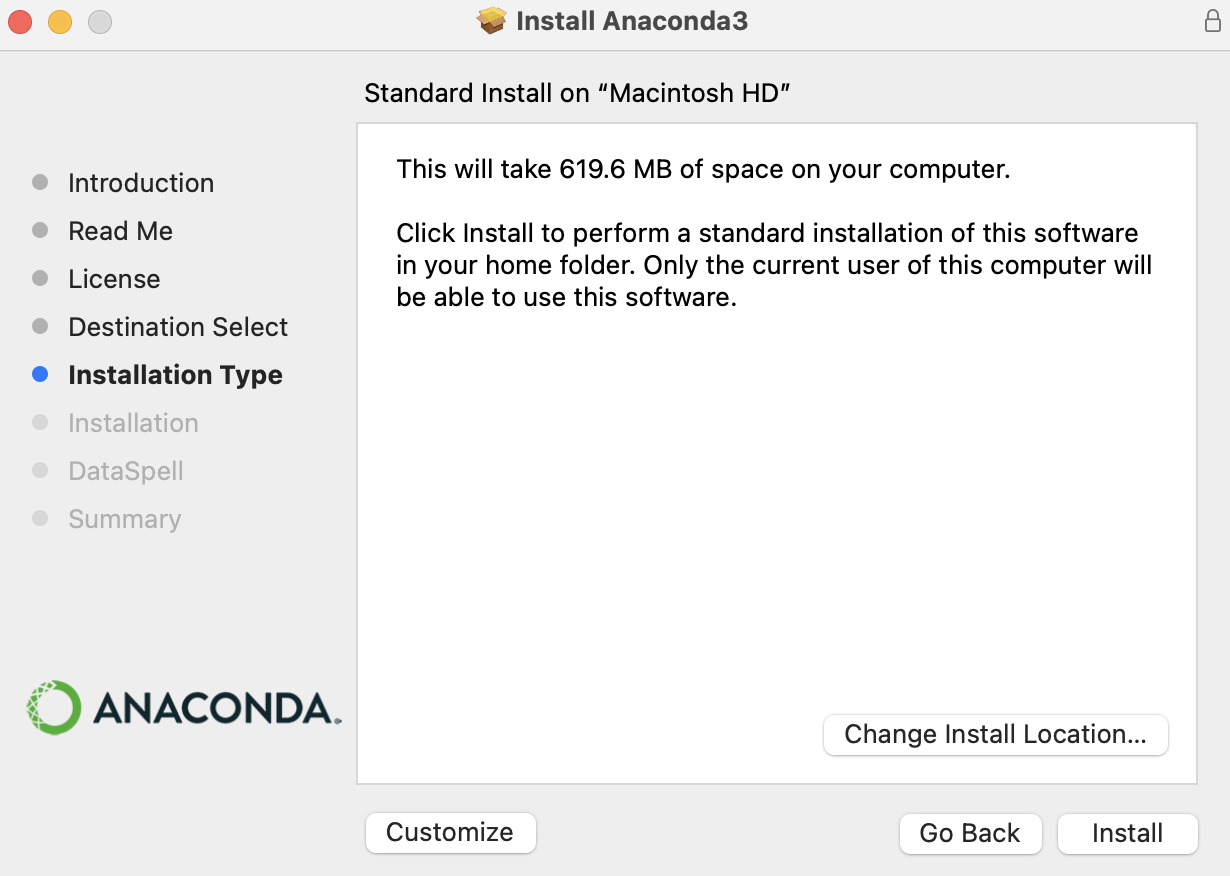
Step 3.6: Click “Accept” and you’ll see a screen like this:
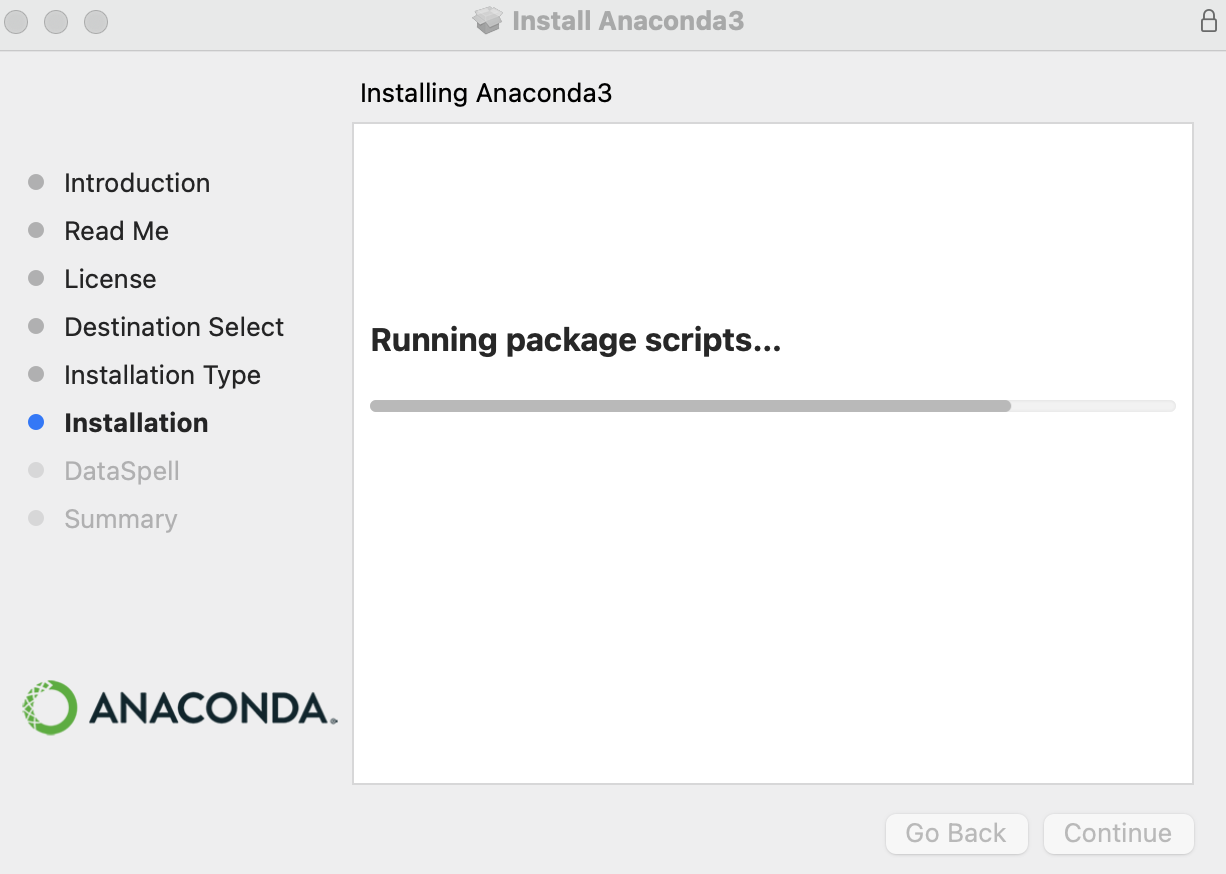
Step 3.6: Click “Install” and you’ll see a screen like this:
After a moment or two a popup will appear like this:
Click “OK” and keep waiting…
After a moment or two a popup might appear like this:
Click “OK” and keep waiting…
While you wait… if you see a dialog like this…

Then you already have conda installed. Click “OK” and then click “Continue” until the installation dialog finishes (It’ll tell you the installation “Failed” but that’s only because you already have conda installed. ) and then proceed to Step 4 of this tutorial.
If, however, you didn’t get a warning saying that conda was already installed, proceed to step 3.7.
Step 3.7: Keep waiting until the window changes to this:
Step 3.8: Click “Continue” and you’ll see a screen like this:
CONGRATULATIONS!!!! You installed Anaconda!!! You may click the “Close” button and proceed to Step 4.
Step 4: Activate Conda Environment
Step 4.1: If you have the ‘Terminal’ app open from Step 2, quit it (CMD-Q) and
- re-open it using the same technique you used in Step 2 to open the application.
(This is to ensure that Terminal is aware of your new conda installation.)
Step 4.2: Check to make sure conda is properly installed
In your freshly opened Terminal window, type the following:
conda --v
This should print something like “conda 4.10.1”. If instead says “conda not found”, return to Step 3 and re-install conda.
Step 4.3: Update Conda
conda update conda --y
Step 4.4: Create conda virtual environment with Python 3.9
conda create -n syft_env python=3.9 --y
Step 4.5: Activate conda environment
conda activate syft_env
When you run this command, you’ll see the word ‘syft_env’ in your terminal to indicate that you’re now in the syft virtual environment. For the rest of this tutorial, enter all of your commands into this particular terminal. If ever you close this window, when you re-open a new Terminal window, just re-run this step (4.5) and you’ll be ready to start again!
Step 5: Install Necessary Python Packages
Step 5.0: If you closed your Terminal window since Step 4, open a new Terminal application window and run the following.
conda activate syft_env
If your Terminal window is still open from Step 4, you can skip this step and proceed directly to step 5.1.
Step 5.1: Update Pip
Within our virtual environment, we’re going to use the ‘pip’ package manager to install all of our necessary python libraries. But before we do, we need to make sure we’re running the latest version of pip. You can do so by running the following command.
pip install --upgrade pip
Step 5.2: Install Jupyter Lab
pip install jupyterlab
If you encounter an error when running this command, try the following instead:
conda install -c conda-forge jupyterlab
Step 5.3: Confirm you have git installed
For the python package in step 5,4, you’ll need to have git installed. Most modern macOS machines come with git already installed, but if the following command doesn’t work for you…
git --version
…then follow git’s installation instructions for macOS here: https://git-scm.com/book/en/v2/Getting-Started-Installing-Git
Step 5.4: Install Hagrid
pip install -U hagrid
Step 5.5: Install Syft
pip install -U syft --pre
Step 6: Install Docker
Step 6.0: If you are using Apple MacOS M1 device, install Rosetta2 prior to installing Docker:
softwareupdate --install-rosetta
Step 6.1: Open the macOS Docker Install Page: https://docs.docker.com/desktop/mac/install/

Step 6.2: Click whichever button corresponds to the chip in your macOS (‘Mac with Intel chip’ if you’re not sure). When you do so you’ll see something that looks like this:
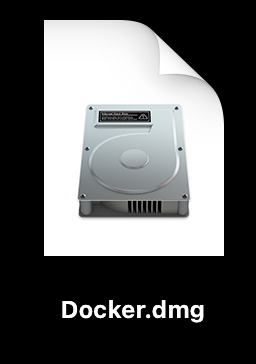
Step 6.3: Once you hit Save, Docker.dmg will save onto your hard disk (likely in Desktop or Downloads). Find it and double click it.
Step 6.4: Once you double clicked Docker.dmg, a window should come up that looks like:
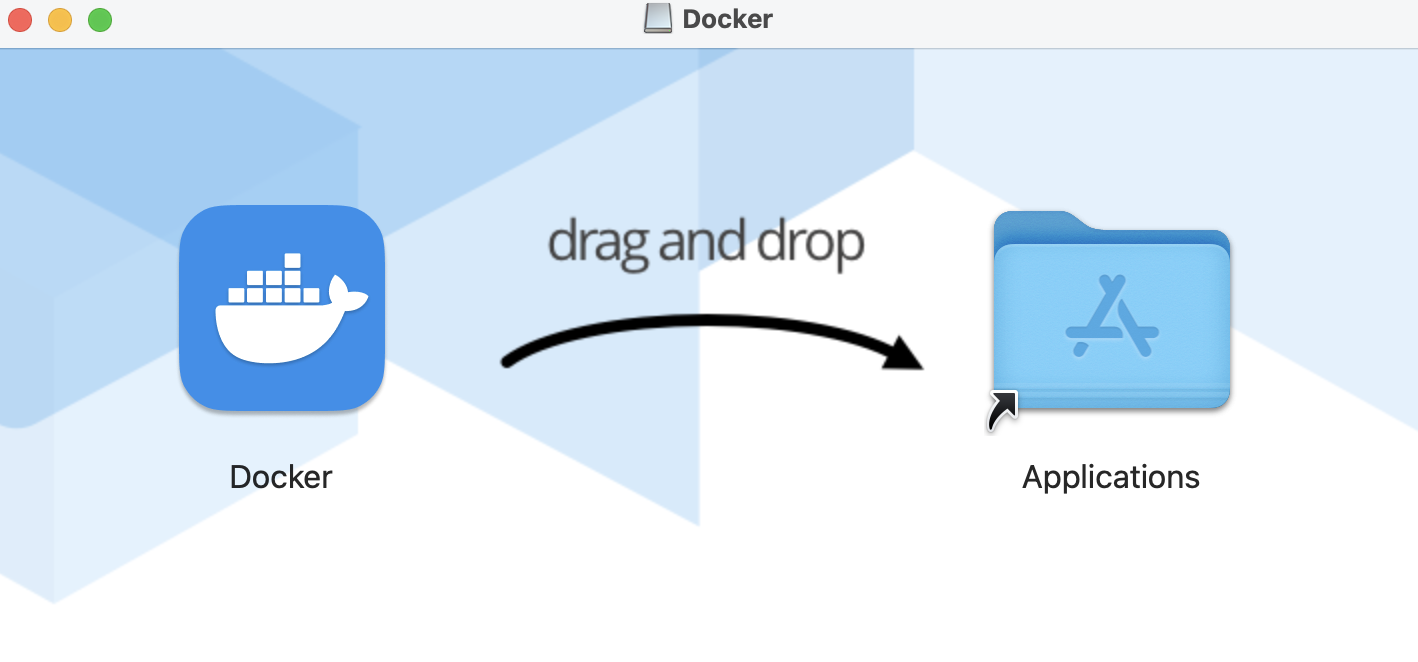
Step 6.5: In the window that appeared, drag the Docker logo into the Applications folder. A dialog might appear which takes a few minutes to disappear as files are transferred.
Step 6.6: Once the dialog closes, find the ‘Docker’ application in your Applications folder:

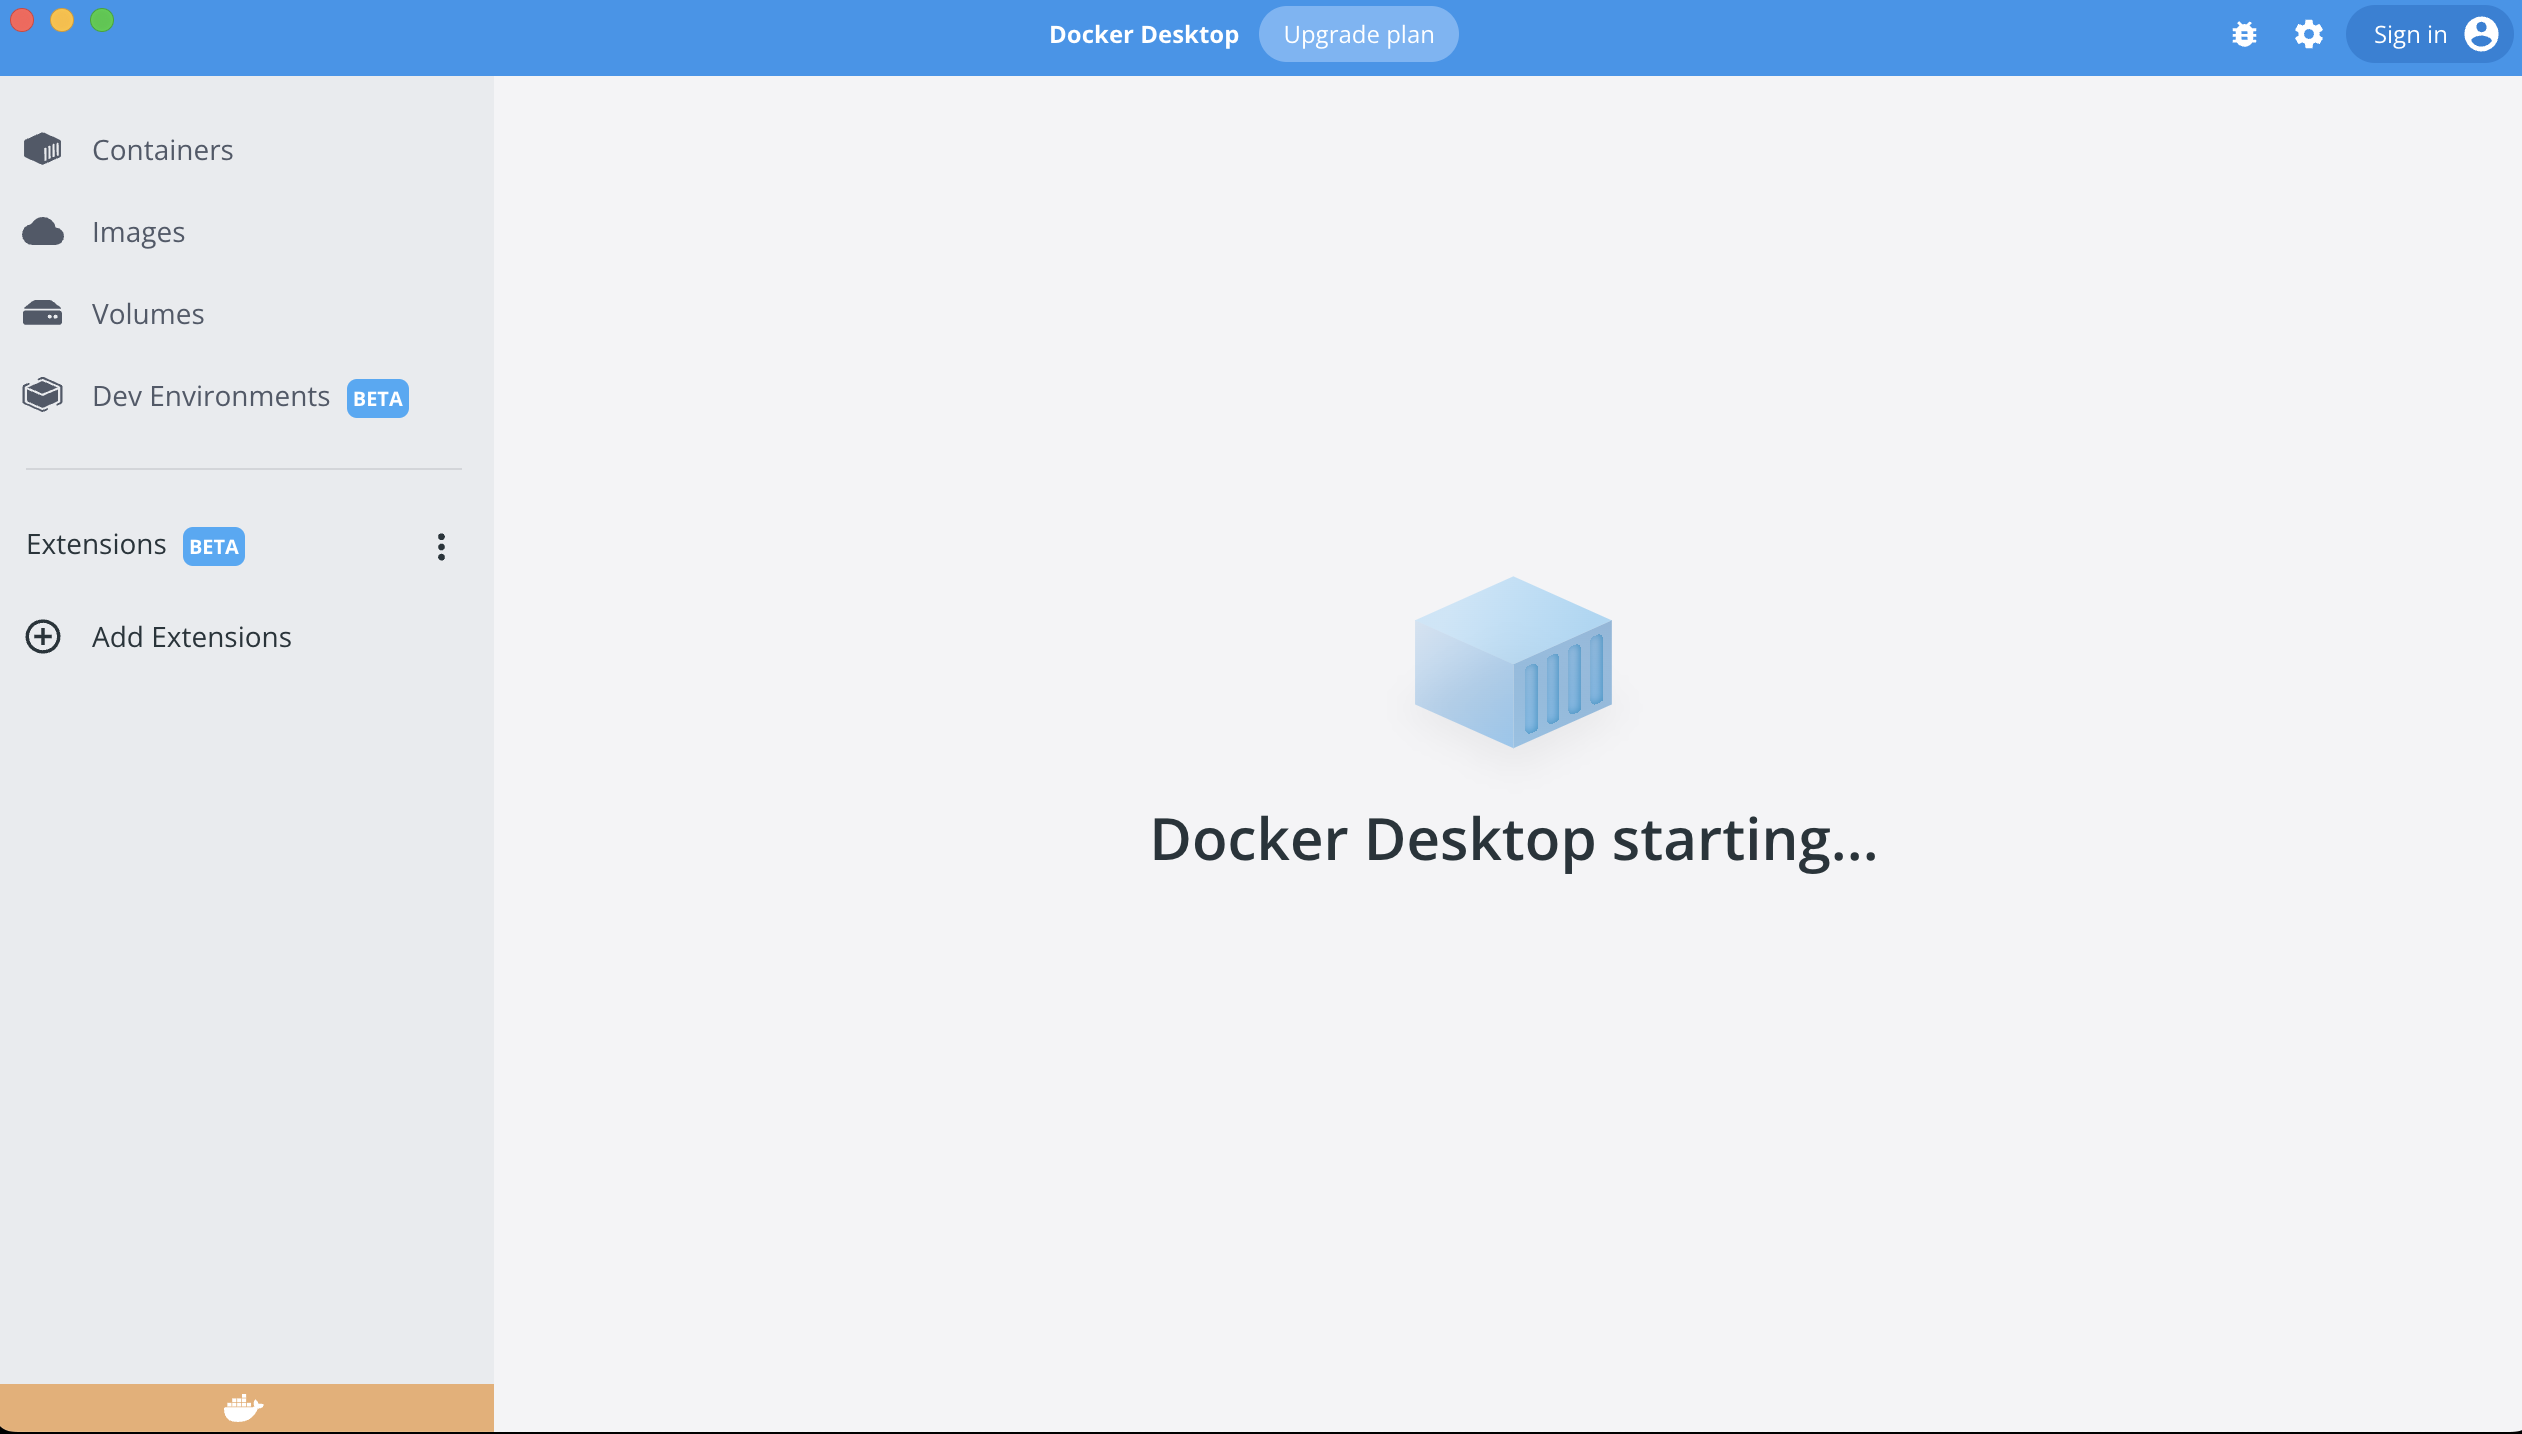
Step 6.7: When you double-click it, you’ll see a dialog like the following:
Step 6.8: Click “Open” and after a few moments the following screen will appear:
Step 6.9: The yellow color in the bottom right means Docker is still booting. Wait until it’s green to proceed. It will look like:
Do not close docker. Proceed to the next step.
Step 7: Increase the RAM Docker uses to 8GB
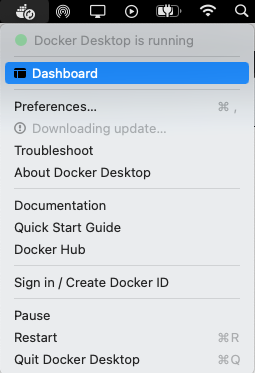
Step 7.0: If the Docker window has been closed, look at teh top bar of your screen on the right for a small whale logo that looks like this:

Click the logo and then click “Dashboard” to bring up the Docker window you may recognize from Step 6.
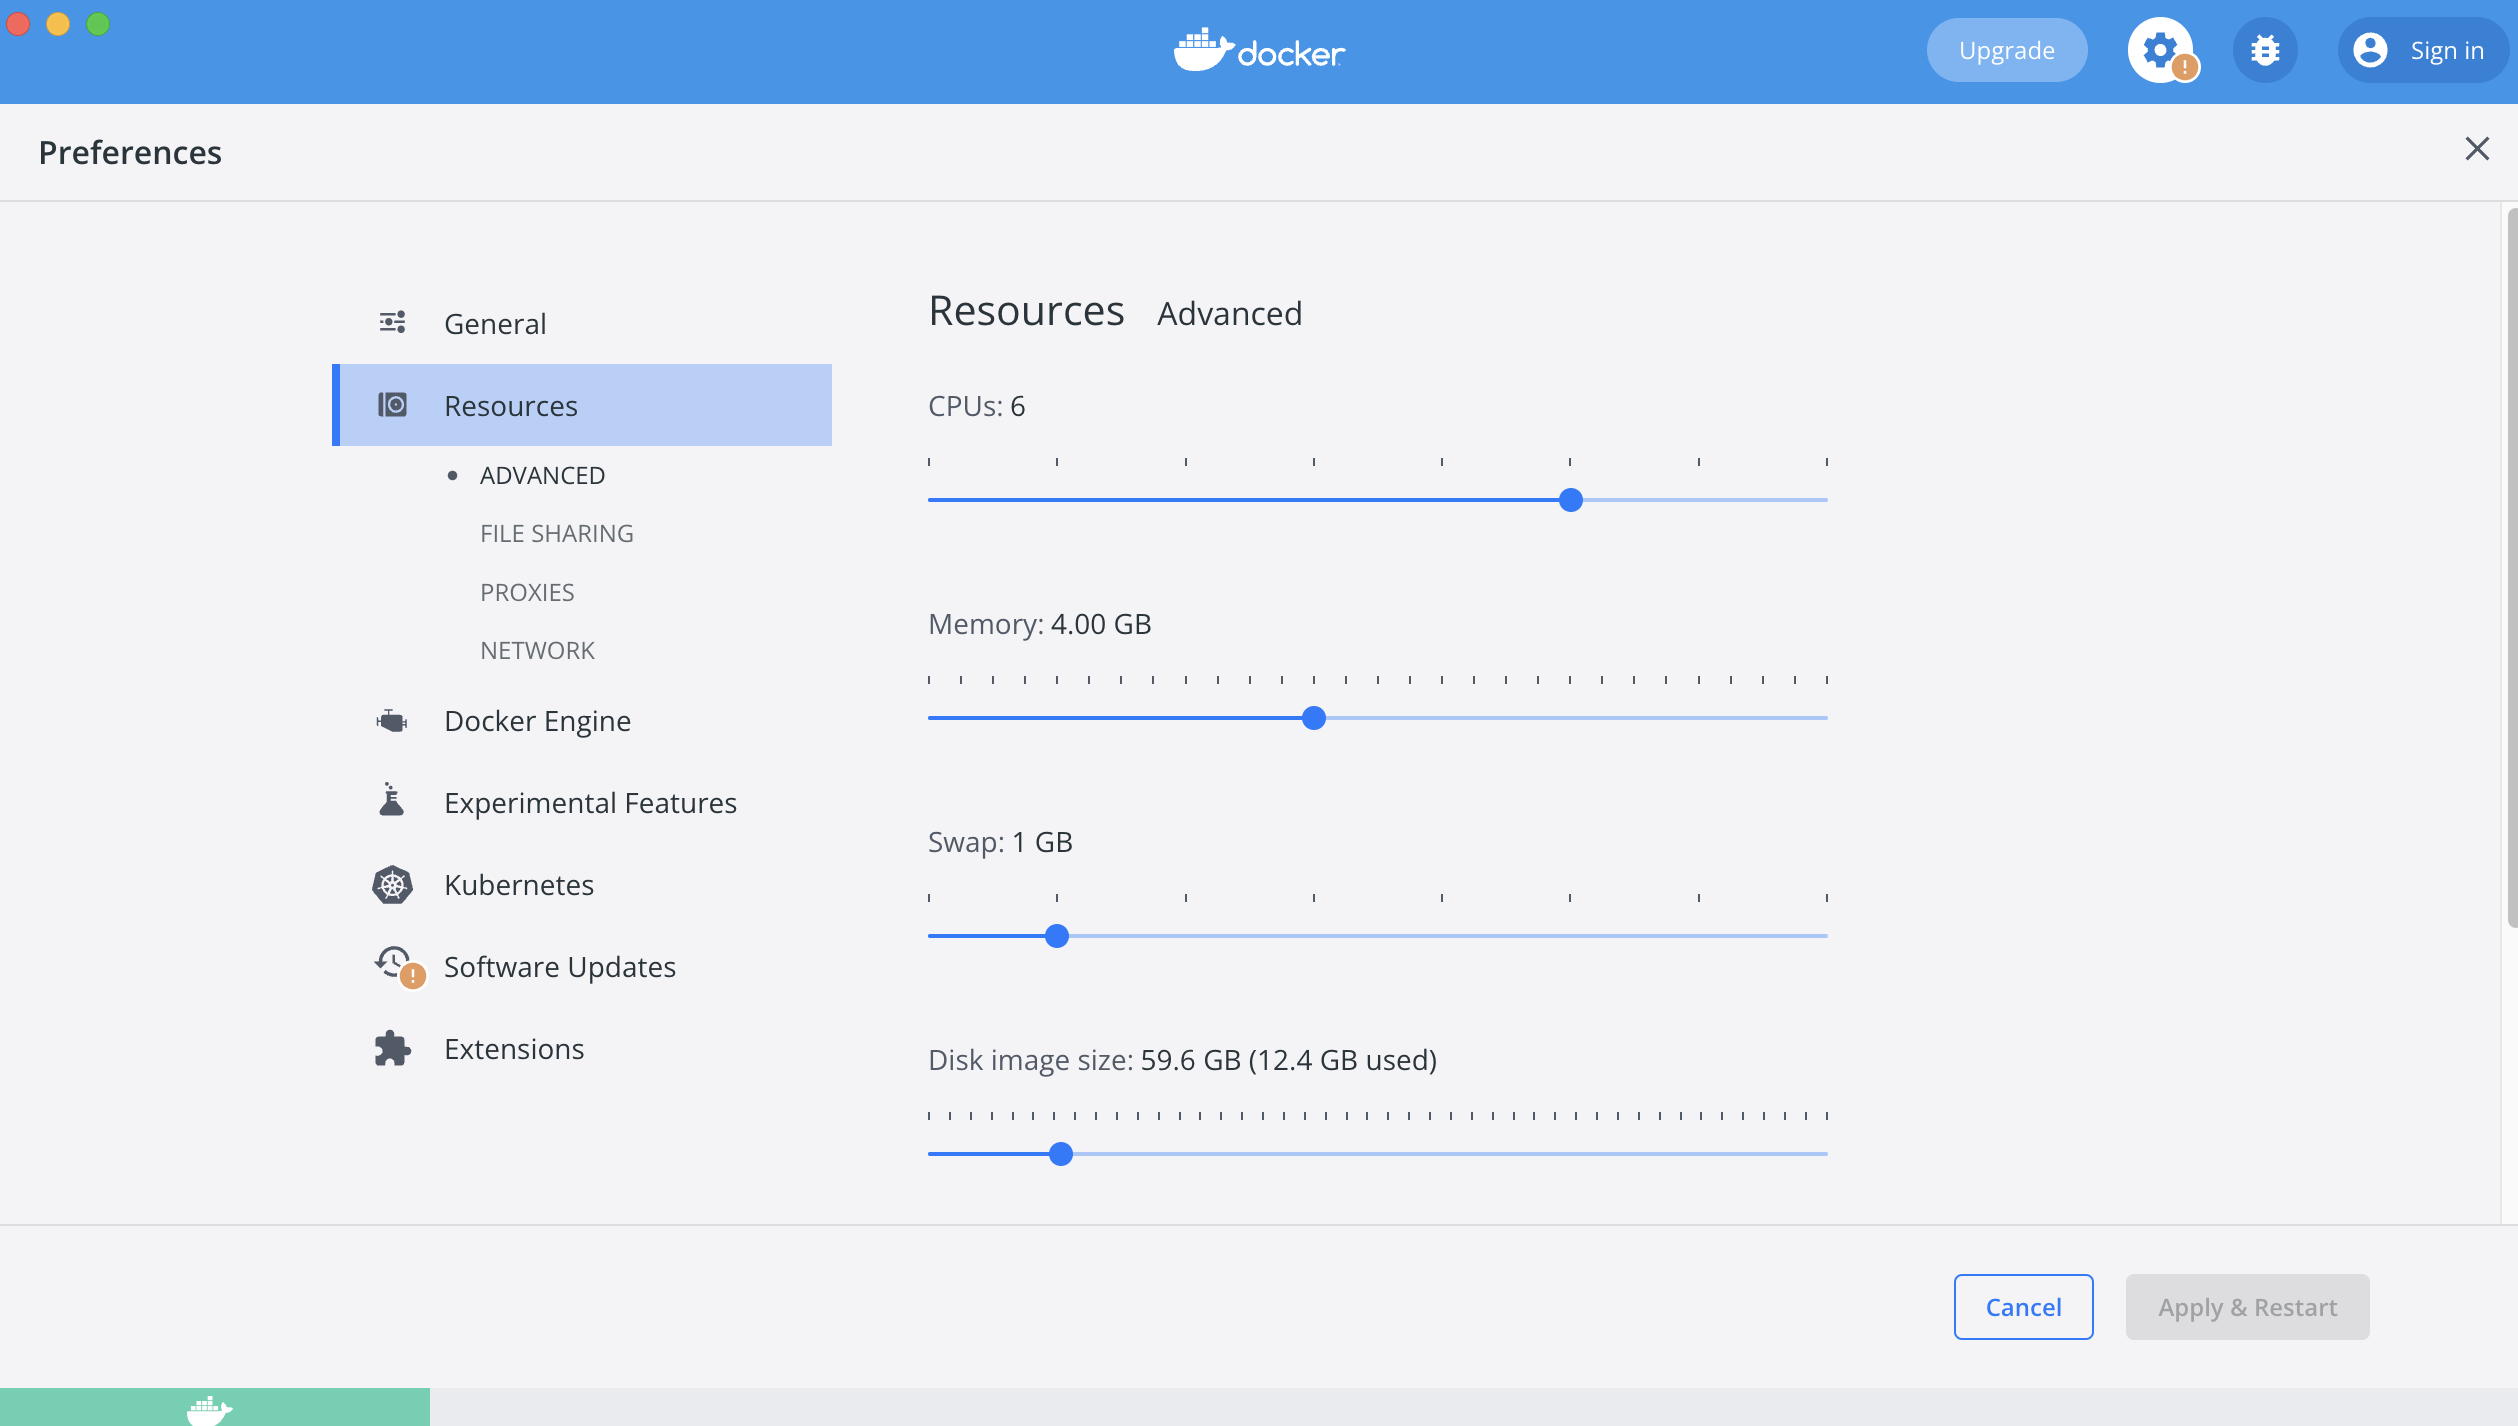
Step 7.1: Click the Gear icon in the top right corner of the Docker window and you’ll see a screen like so:

Step 7.2: Click “Resources” and the window will change to:
Step 7.3: Drag the small blue circle next to “Memory” until 8GB of memory have been allocated. Your window will look like this.
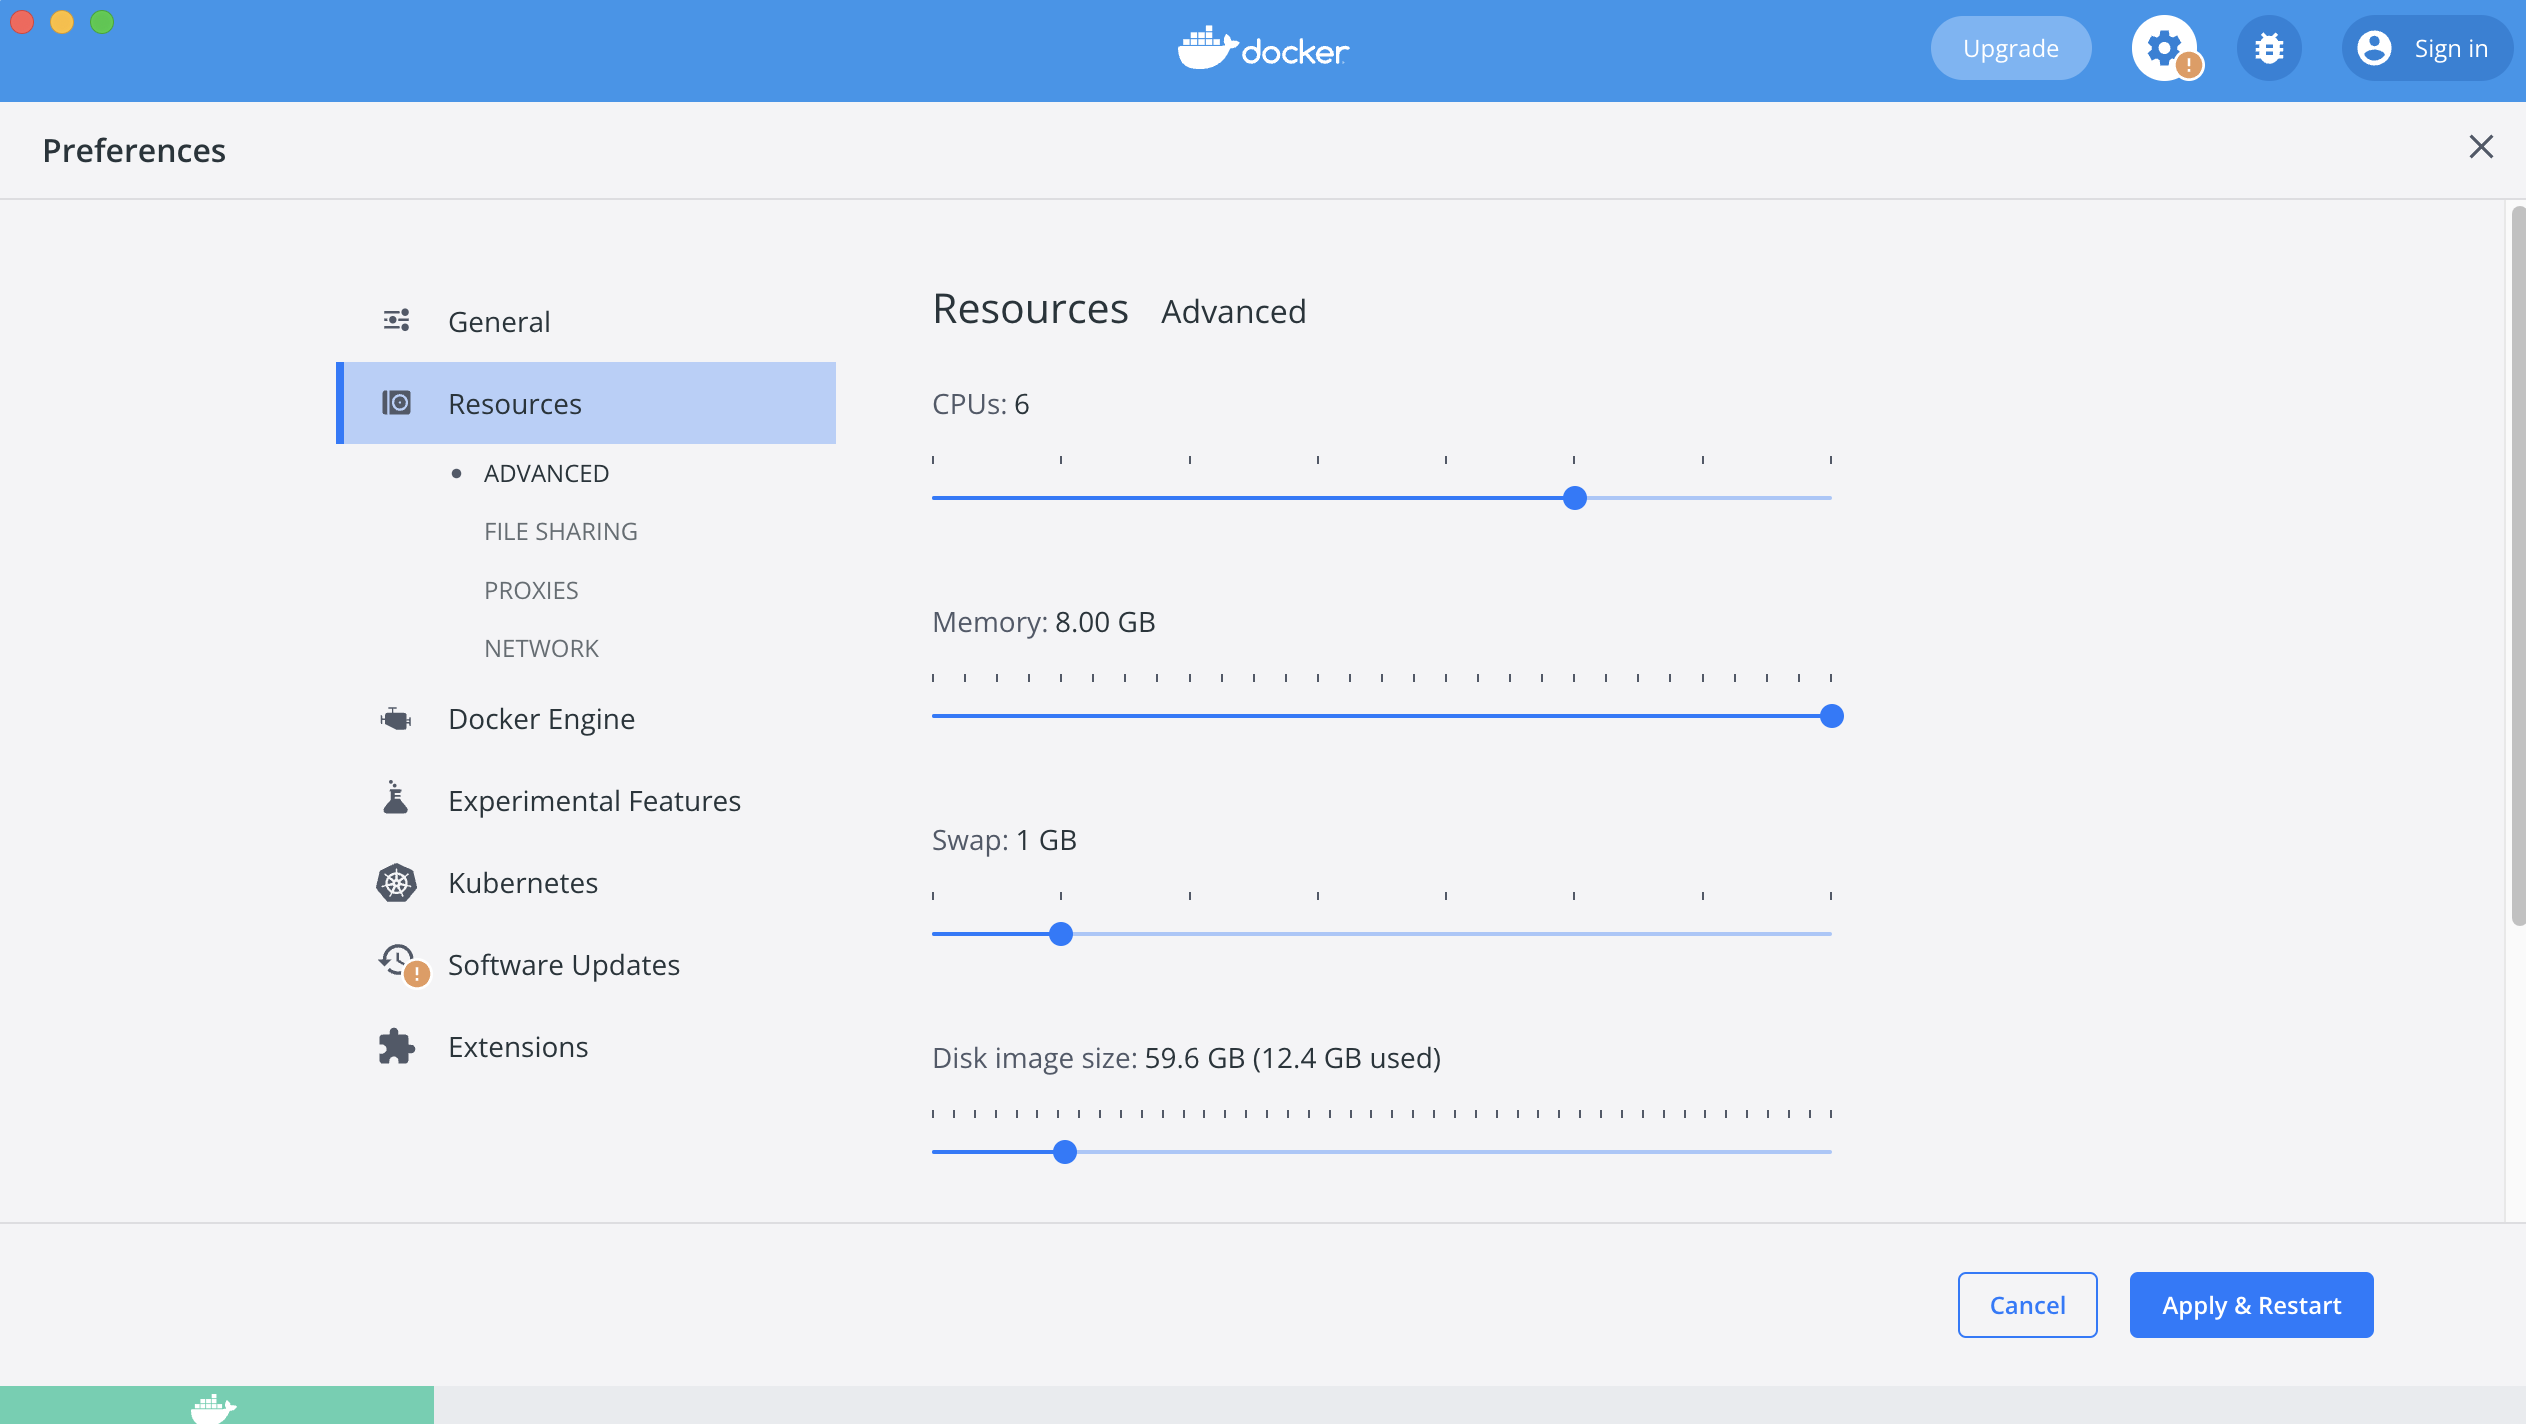
Step 7.4: Click “Apply & Restart” and then wait until the bottom left tab returns from Yellow to Green.
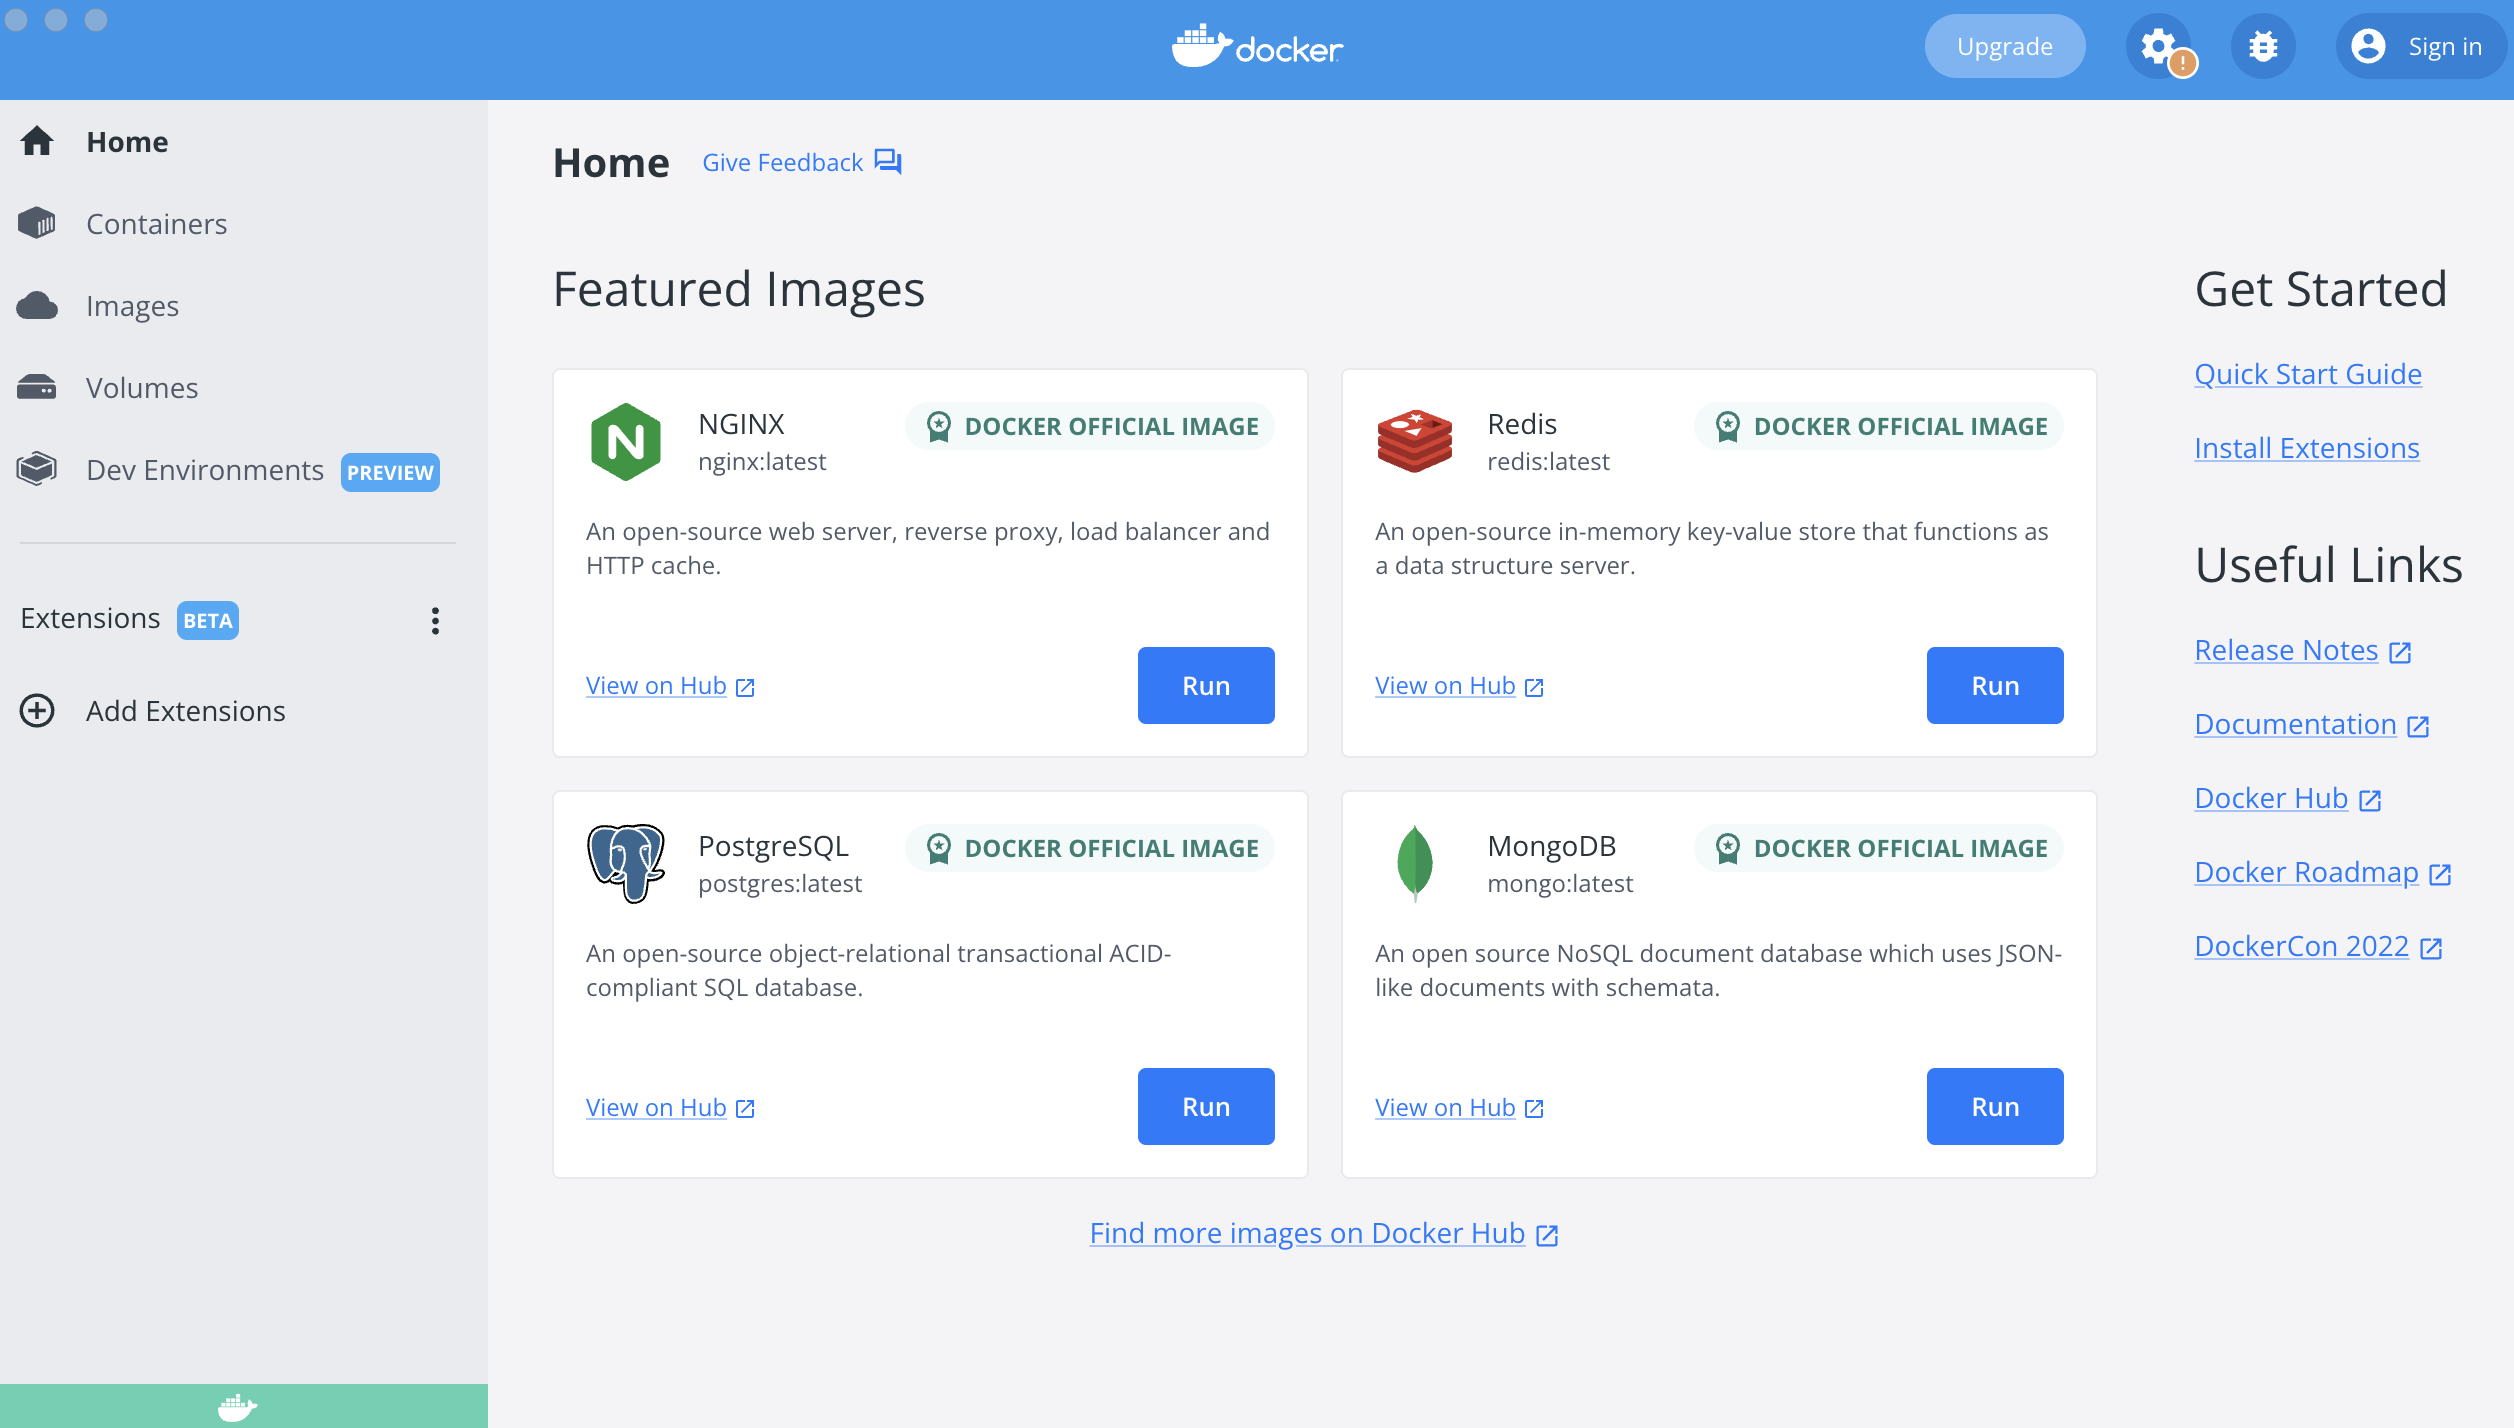
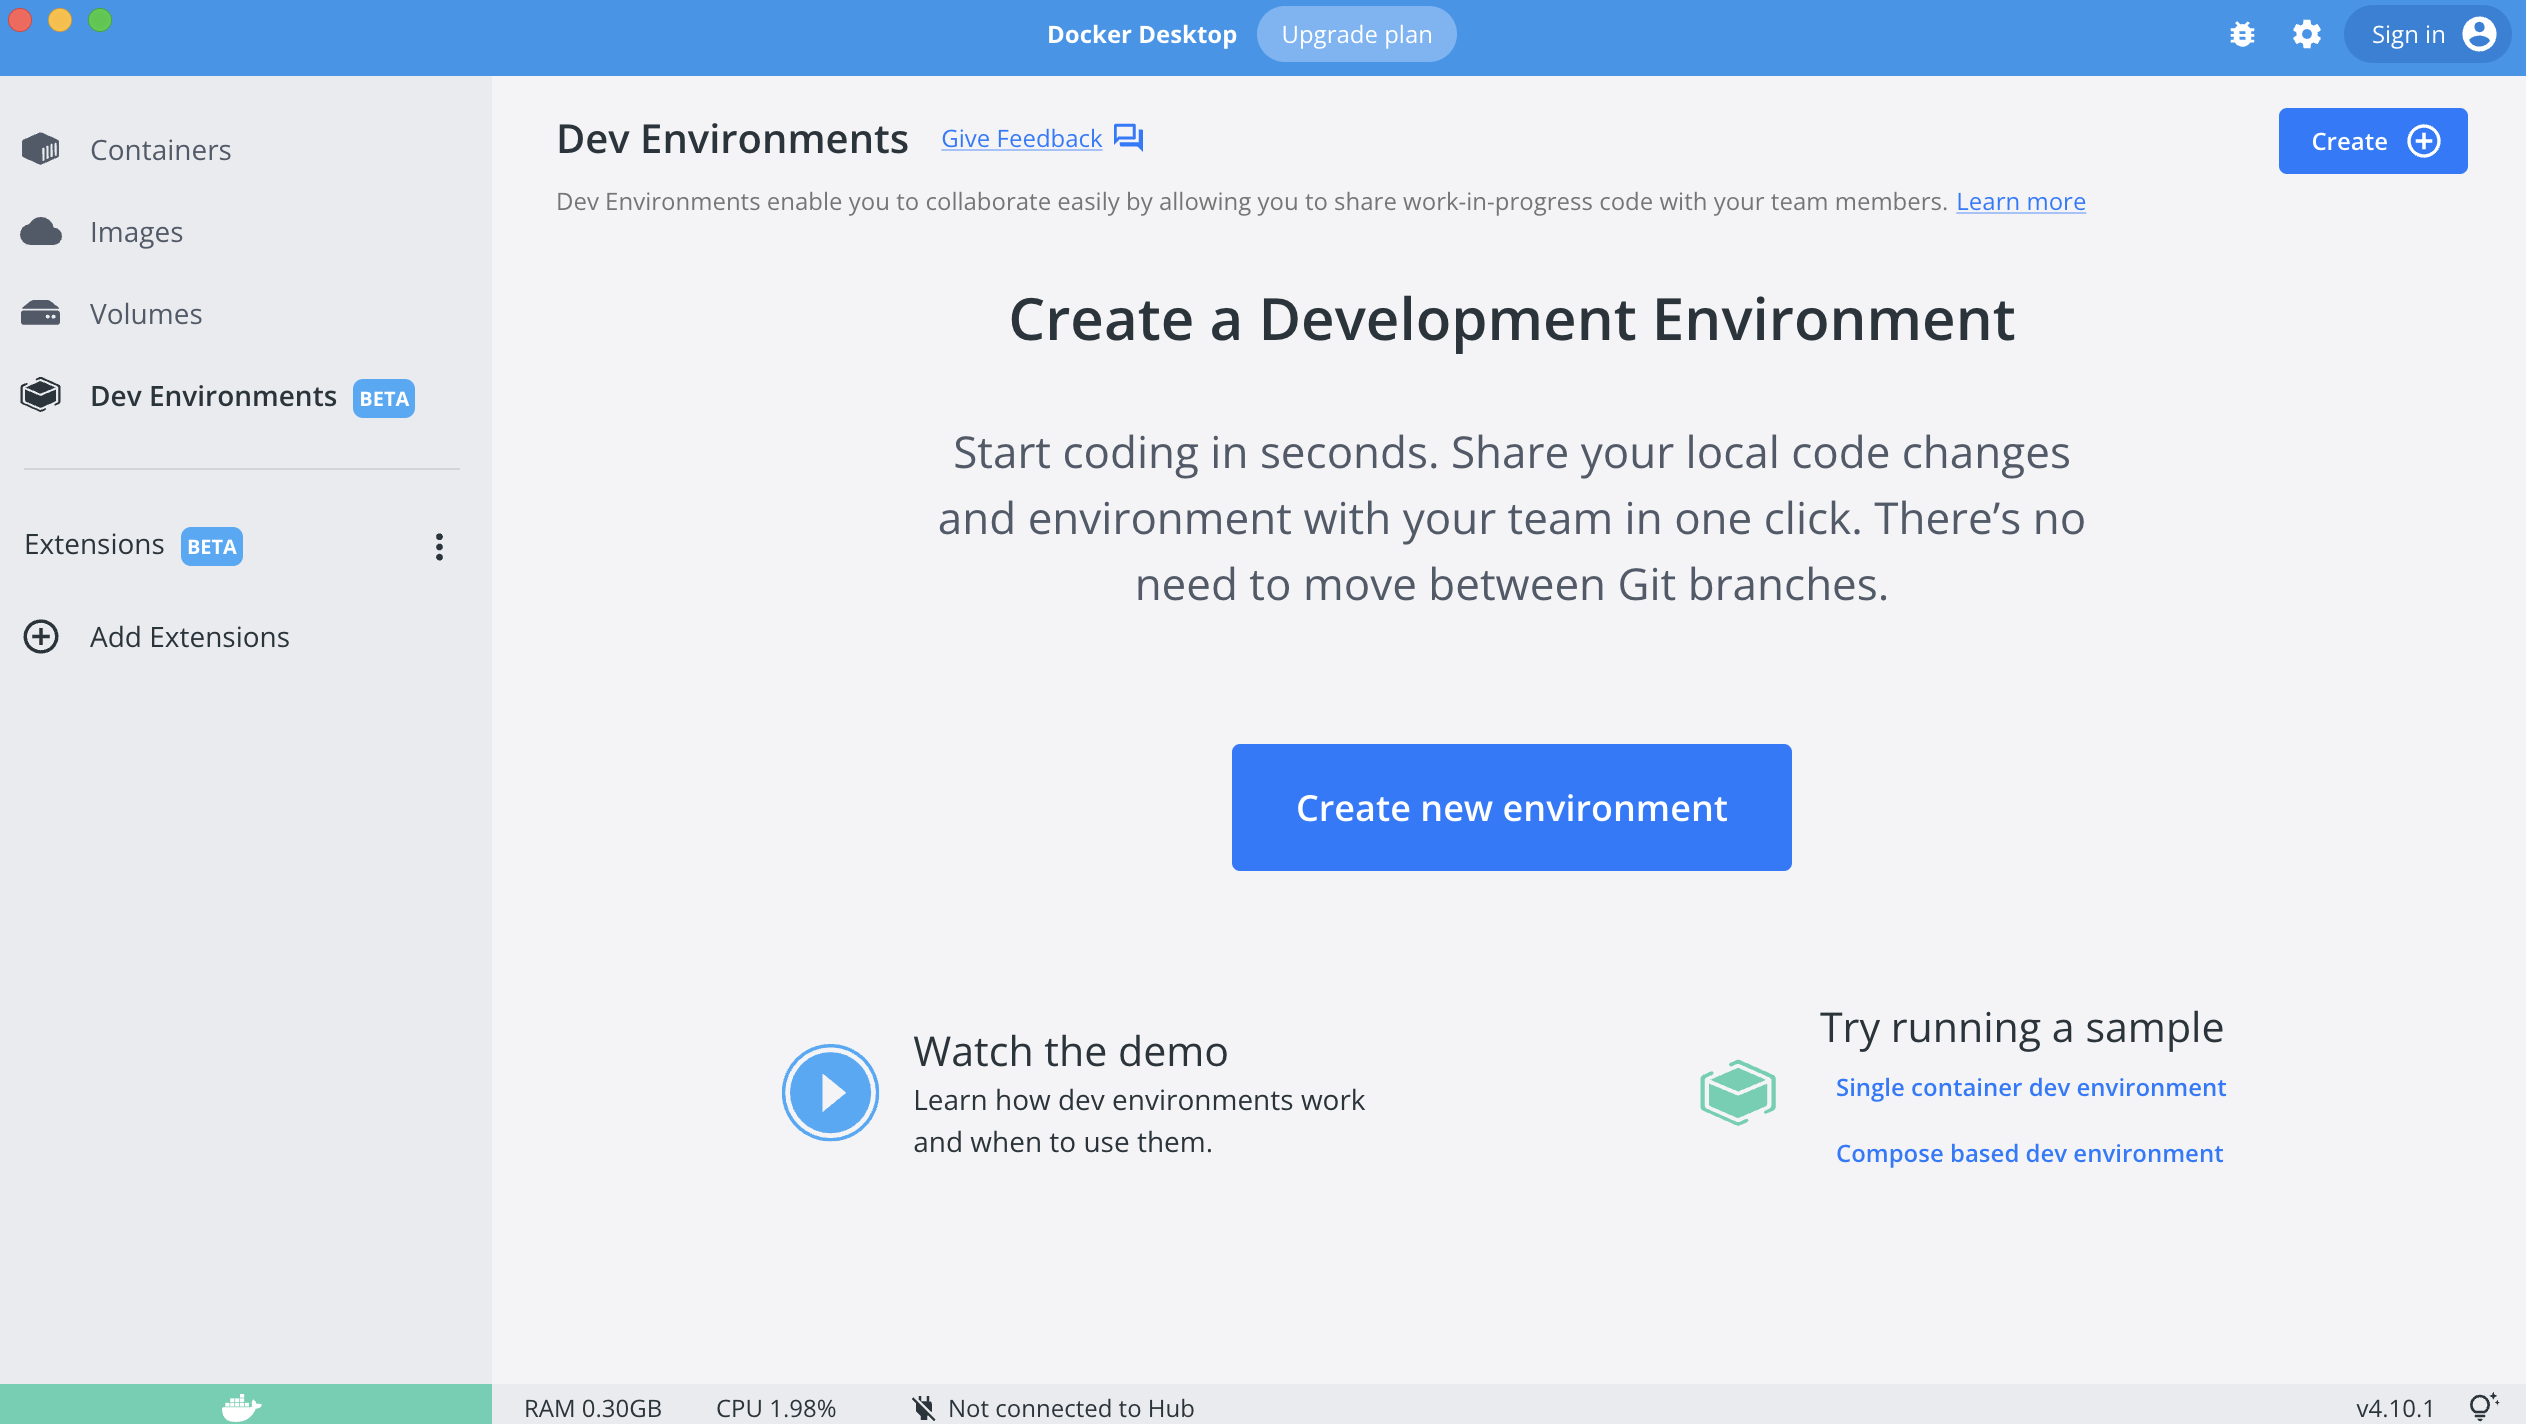
Step 7.5: You are done! You may now proceed back to the main Docker dashboard by clicking the “X” in the top right corner of the docker window, taking you to a dashboard that looks like:
Congratulations! You’re now fully installed and ready to go!!! You may now close your Terminal!
Step 8: Test Hagrid (optional)
Step 8.1: Launch Hagrid
Just to make sure our installation is correct and working. Open a new terminal and run the following:
conda activate syft_env
hagrid launch test
Wait several minutes. You should see LOTS of logging. The logging will occasionally hang during downloads. If your internet is slow you’ll need to be patient. The logging should eventually stop with the message “Application startup complete.”
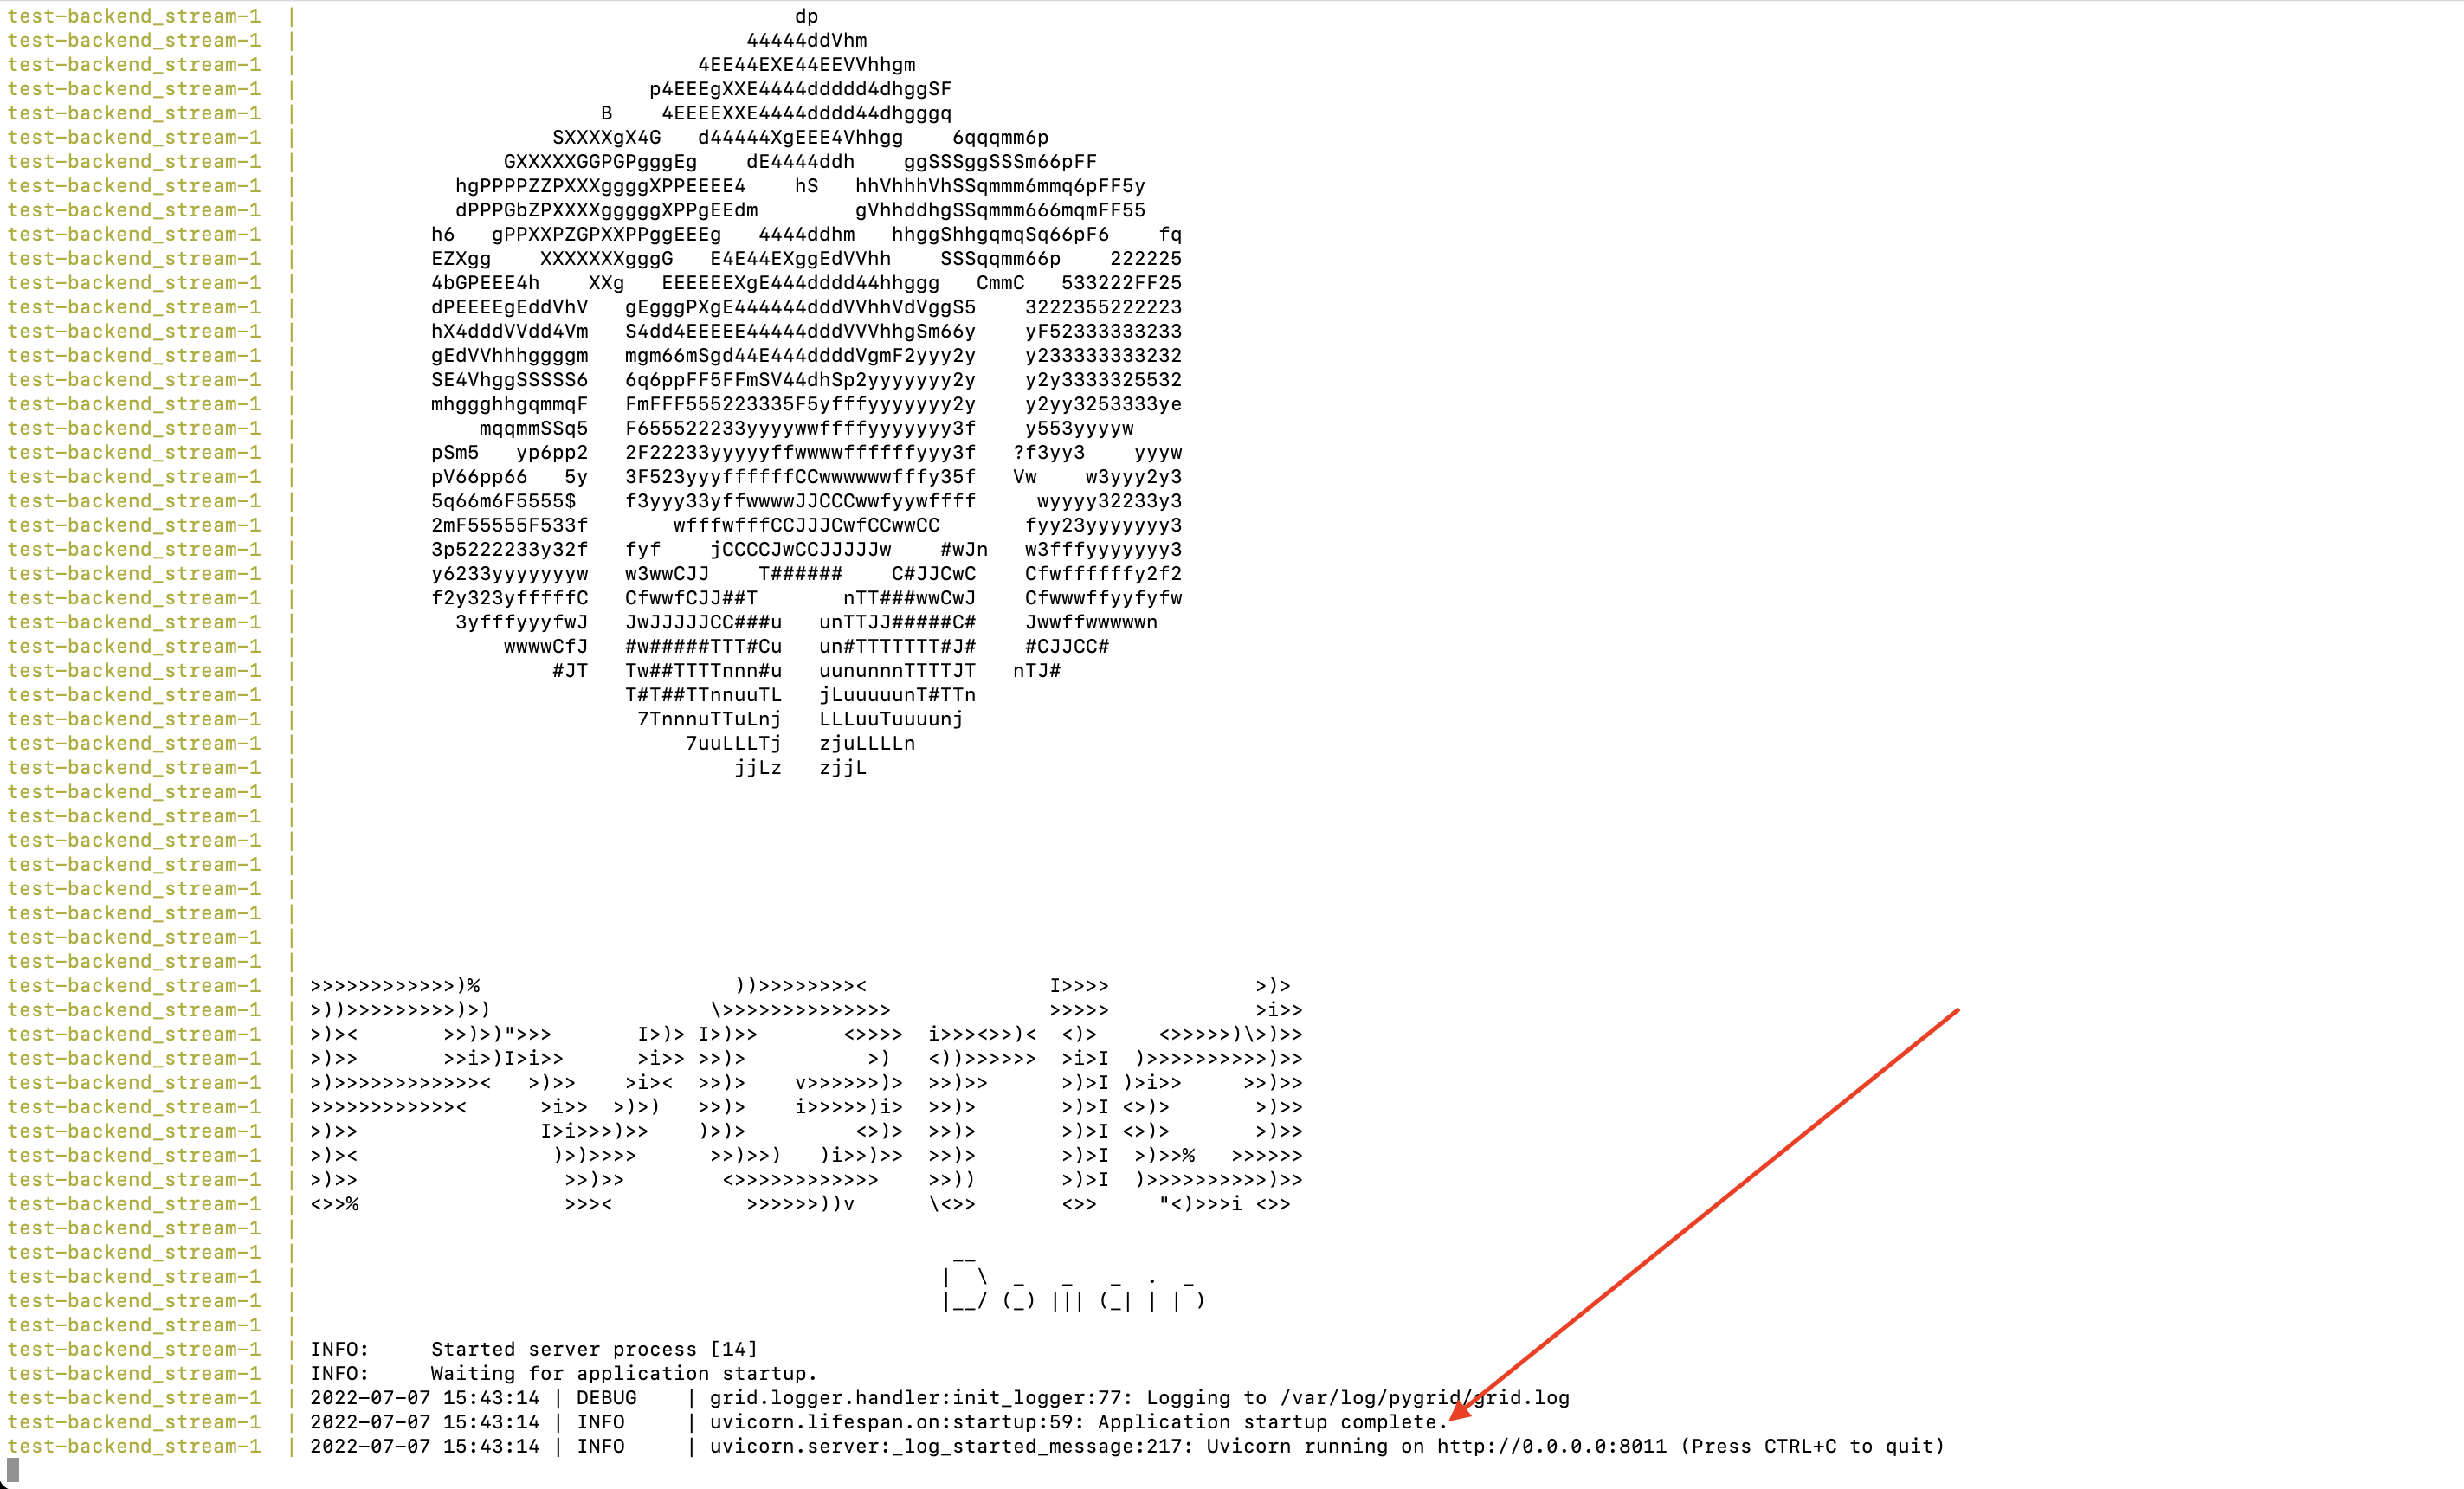
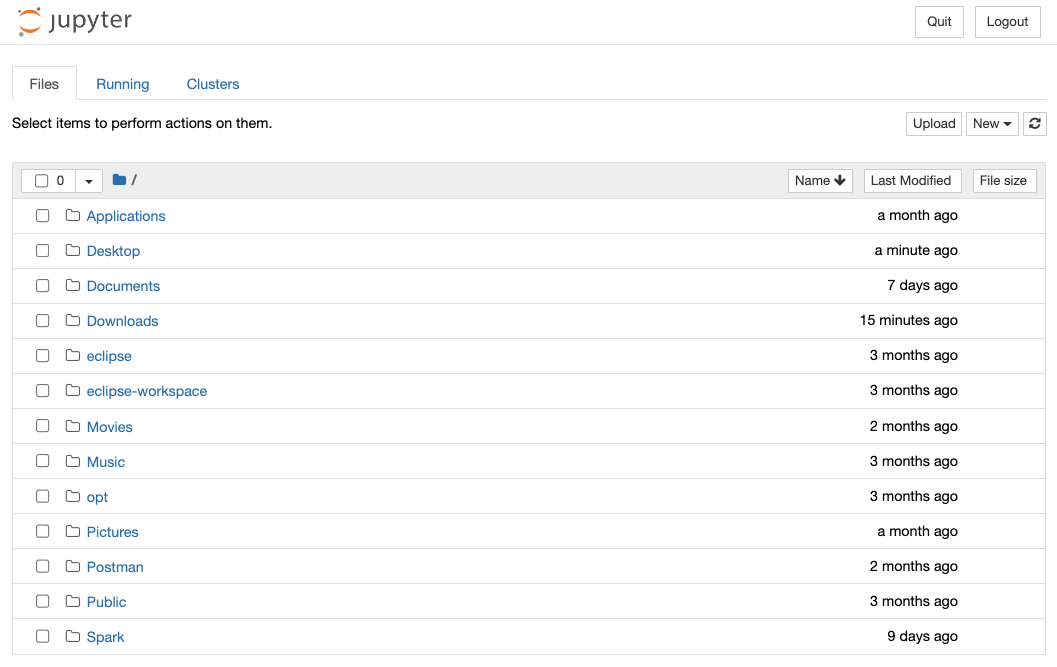
You can then load “http://localhost:8081” to see a UI deployed which looks like:

Congratulations! Looks like everything was installed properly!
Step 8.2: Launch Juptyer Lab
With hagrid still running, open a new terminal (Command-N if you have Terminal selected) and run the following:
conda activate syft_env
jupyter lab
A new browser window should open up.
Step 8.3: Open a new Jupyter Notebook by clicking the “Python 3” square icon (with the python logo). The window will change to:
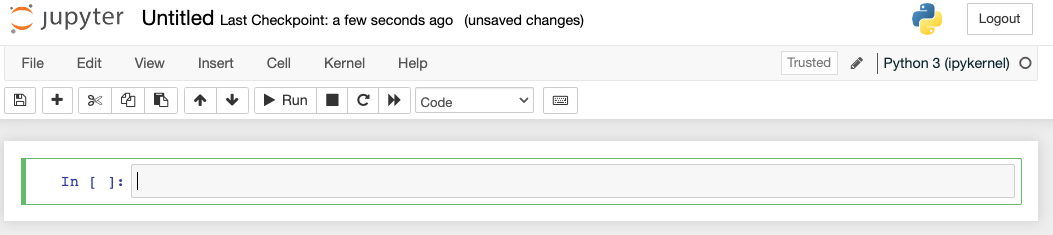
Step 8.4: Enter the following code into the top cell and then hit “Shift Enter”.
import syft as sy
domain = sy.login(email="info@openmined.org", password="changethis", port=8081)
After typing <Shift-Enter>, you should see the following output (or something similar):
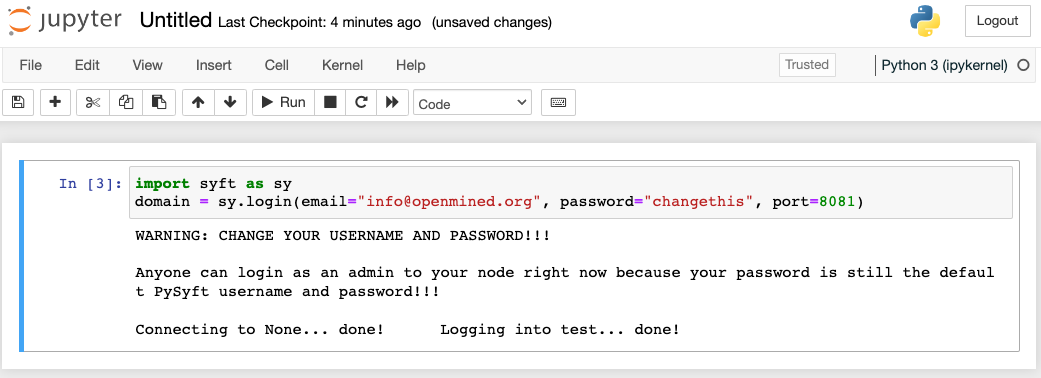
And if so, Congratulations!!! You’re 100% setup and we’ve tested to make sure!
Step 8.5: Close Jupyter Lab
Close the jupyter lab browser tab. Then find the terminal window where we ran ‘jupyter lab’ and close the terminal window. If a dialog box pops up saying “Do you want to terminate running processes in this window?”, click “Terminate”
Step 8.6: Land Hagrid
Open a new terminal window and run:
conda activate syft_env
hagrid land test
conda deactivate syft_env
Well done!