Deploying your own Domain Server
Data Owner Tutorials
◻️ 00-deploy-domain 👈
◻️ 01-upload-data
Note
TIP: To run this tutorial interactively in Jupyter Lab on your own machine type:
pip install -U hagrid
hagrid quickstart data-owner
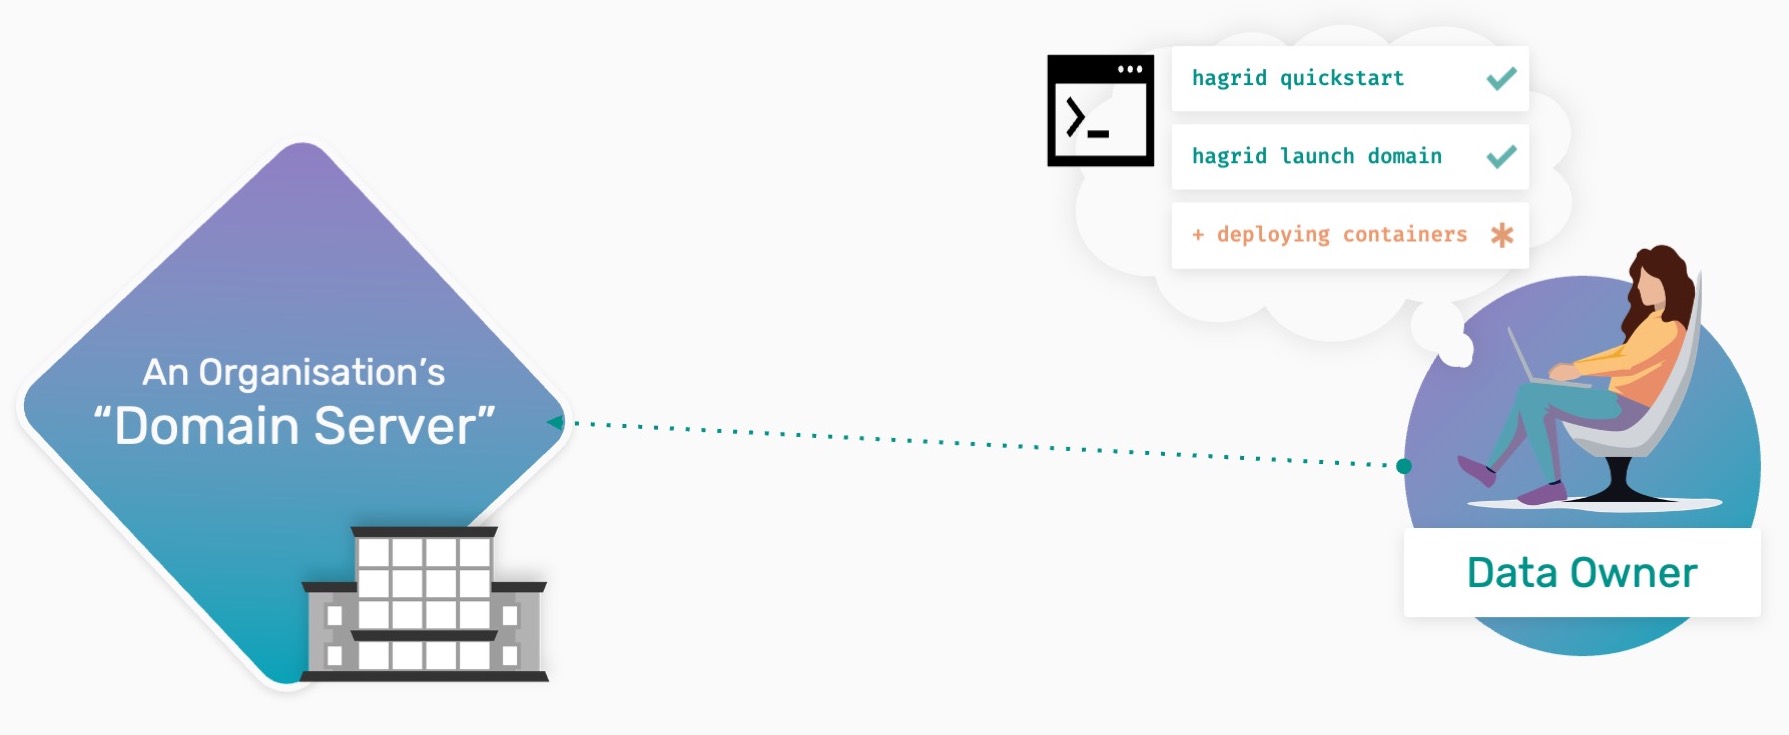
Data owners are defined by those with datasets 💾 they want to make available for
study by an outside party.
This tutorial will help you understand how a Data Owner can
launch their own Domain Server to securely host private datasets.
Note: Throughout the tutorials, we also mean Domain Servers whenever we refer to Domain Node. Both mean the same and are used interchangeably.
Why do Data Owners Deploy Domain Servers?
The concept of Remote Data Science starts with a server-based model
that we call Domain Server. It allows people/data owners 👨 to load
their private data into these servers and create an account with
a username and password for Data Scientists💻.
The advantage of using a Domain Server is that you can catalyze the impact your dataset can have by allowing…
a Data Scientist to only get
answersto the types ofquestionsyou allow them toand by allowing them to get those answers without needing to directly
accessor have a copy of your data

This means that by having your organization retain governance over the information they steward without
needing to share direct copies of data to collaborators, domain servers create an opportunity for more
collaboration and more research to happen without losing control of your data and risking things like IP.
Steps To Deploy a Domain
How collaboration gets streamlined will be covered in our tutorials about connecting to a "Network Node." We will discuss
how control is maintained in our tutorials about "How to assign a Privacy Budget." For this tutorial, however,
let’s start by learning how to deploy a domain server.
📒 Overview of this tutorial:
Installing the required software
Running the servers
Checking the status of deployed server
Few things to make a note of before starting:
PySyft = Privacy-Preserving Library
PyGrid = Networking and Management Platform
HAGrid = Deployment and Command Line Tool
Step 1: Install wizard
To simplify the installation process, we have an install wizard that will help you setup the latest versions of hagrid and syft on your machine.
You can go to the install wizard at any time by running the below command:
hagrid quickstart
Warning
The next step will show you how to launch a domain node. If
you run into any issue running the above installation wizard, consider
looking for the error you are getting on our
GitHub-Issue page.
Still not able to figure out the problem, don’t worry. We are here to
help you. Join the OpenMined
slack
community and explain your problem in the #general channel, and
any one of us might be able to help you.
Step 2: Launching a Domain Server
Great work, people!! Once you have installed all the dependencies, it is
time to use HAGrid to launch your Domain Node.
To launch a domain node, there are three things that you need to know:
1. What type of node do you need to deploy?
There are two different types of nodes: Domain Node and Network Node. By
default, HAGrid launches the primary node that is our Domain Node.
2. Where are you going to launch this node to?
We need to specify that we want to launch it to the docker container at
port 8081.
3. What is the name of your Domain Node going to be?
For that, don’t forget to specify the DOMAIN_NAME to your
preference.
After completing the Install Wizard, run the cell below to launch your very first domain node.
In:

# edit DOMAIN_NAME and run this cell

DOMAIN_NAME = "My Domain"

!hagrid launch {DOMAIN_NAME} to docker:8081 --tag=latest --tail=false
While this command runs, you will see various volumes and
containers being created. Once this step is complete, move on to
the next step, where we will learn to monitor the health of
our Domain Node.
Step 3: Checking your Domain Server
One exciting benefit of HAGrid is that it makes it easier for your organization/ IT department
to monitor & maintain the status of your system as you move forward with other steps.
Let’s do a quick health check to ensure the Domain is up and running.
In:

# run this cell
!hagrid check localhost:8081

Out:

Detecting External IP...
┏━━━━━━━━━━━┳━━━━━━━━━━━━━━━━━━━━━━━━━━━━━┳━━━━┓
┃ PyGrid    ┃ Info                        ┃    ┃
┡━━━━━━━━━━━╇━━━━━━━━━━━━━━━━━━━━━━━━━━━━━╇━━━━┩
│ host      │ 20.31.143.254               │ ✅ │
│ UI (βeta) │ http://20.31.143.254/login  │ ✅ │
│ api       │ http://20.31.143.254/api/v1 │ ✅ │
│ ssh       │ hagrid ssh 20.31.143.254    │ ✅ │
│ jupyter   │ http://20.31.143.254:8888   │ ✅ │
└───────────┴─────────────────────────────┴────┘
If your output is similar to the above image, voila!! A
Domain Node was just born. When it’s ready, you will see the
following in the output:
host:
IP addressof the launched Domain Node.UI (Beta): Link to an
admin portalthat allows you to control Domain Node from a web browser.api:
Application layerthat we run in our notebooks to make the experience more straightforward and intuitive.Ssh:
Keyto get into virtual machine.jupyter: Notebook
environmentyou will use to upload your datasets.
Congratulations 👏 You have now successfully deployed a Domain Server!
Now what?
Once you, as a Data Owner, have deployed your Domain Node representing your theoretical organization’s private data server, the next step is to Upload Private Data to a Domain Server for research or project use.
In our following tutorial, we will see how you as a Data Owners can preprocess the data, mark it with correct metadata and upload it to the Domain Node you’ve just deployed.