Uploading Private Data to a Domain Server
Data Owner Tutorials
☑️ 00-deploy-domain
◻️ 01-upload-data👈
Note
TIP: To run this tutorial interactively in Jupyter Lab on your own machine type:
pip install -U hagrid
hagrid quickstart data-owner
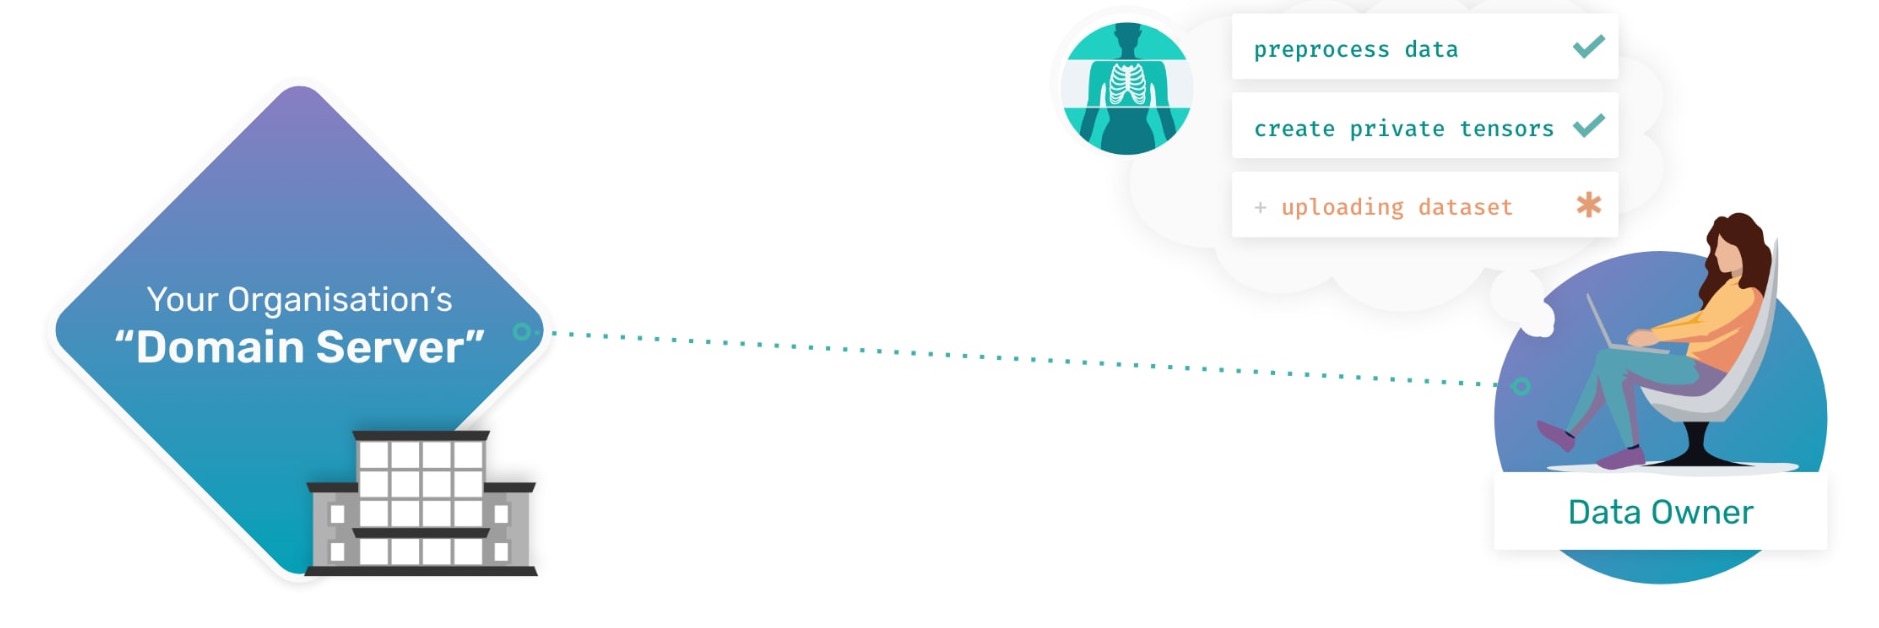
Welcome back to another Data Owner tutorial. In the last tutorial, you learned How to Deploy a Domain Server that represents your organization’s private data servers. But right now, the node you just deployed is empty.
After today’s tutorial, you will learn how to upload data to your new
domain node, which involves annotating and doing ETL before
uploading it to our Domain Node/server.
Note: Throughout the tutorials, we also mean Domain Servers whenever we refer to Domain Node. Both mean the same and are used interchangeably.
Step to Upload Private Data
📒 Overview of this tutorial:
Preprocessing of Data
Marking it with correct metadata
Uploading data to Domain Server
Step 1: Import Syft
To utilize the privacy-enhancing features offered in PyGrid and to
communicate with your domain node, you must first import OpenMined’s
private deep learning library: PySyft.
Lets import Syft by running the below cell:
In:
# run this cell
try:
import syft as sy
print("Syft is imported")
except:
print("Syft is not installed. Please use the 🧙🏽♂️ Install Wizard above.")
Out: Syft is imported
Step 2: Log into Domain
By default, only the Domain node Admin can upload data,
so to upload your data, you will need to first login as the admin.
(Upload data permissions can be customized after logging into the domain node.)
To login to your Domain node, you will need to define which Domain you are logging into and who you are. In this case, it will take the form of:
IP Address of the domain host
Your user account Email and Password
WARNING: Change the default username and password below to a more secure and private combination of your preference.
In:

# run this cell
try:
   domain_client = sy.login(
      port=8081,
      email="info@openmined.org",
      password="changethis"
   )
except Exception as e:
   print("Unable to login. Please check your domain is up with `!hagrid check localhost:8081`")

Out:

Connecting to 20.253.155.183... done! Logging into openmined... done!
Lovely :) You have just logged in to your Domain.
Note
Steps to change the default admin credentials for Domain Owner are shown below 👇
Step 3: Prepare Dataset
For this tutorial, we will use a simple dataset of four peoples ages.
In:

# run this cell
try:
   import pandas as pd
   data = {'ID': ['011', '015', '022', '034'],
         'Age': [40, 39, 9, 8]}

   dataset = pd.DataFrame(data)
   print(dataset.head())
except Exception:
   print("Install the latest version of Pandas using the command: !pip install pandas")

Out:

ID  Age
011   40
015   39
022    9
034    8
Step 4: Annotate Data for Automatic DP
Now that we have our dataset, we can begin annotating it with
privacy-specific metadata called Auto DP metadata. Auto DP
metadata allows the PySyft library to protect and adjust the
visibility different Data Scientists will have into any one of
our data subjects. Data Subjects are the entities whose privacy
we want to protect. So, in this case, they are the individual
family members.
Note
In order to protect the privacy of the people within our dataset we
first need to specify who those people are. In this example we have
created a column with unique ID’s for each person in this dataset.
Important steps:
data subjectsare entities whose privacy we want to protecteach feature needs to define the appropriate
minimumandmaximumrangeswhen defining min and max values, we are actually defining the
theoreticalamount of values that could be learned about that aspect.To help obscure the variables someone may learn about these datasets we then need to set an appropriate
lower_boundto thelowestpossible persons age(0), and theupper_boundto thehighestpossible (mostly) persons age(100).
In:

# run this cell
data_subjects = sy.DataSubjectArray.from_objs(dataset["ID"])

age_data = sy.Tensor(dataset["Age"]).annotate_with_dp_metadata(
   lower_bound=0, upper_bound=100, data_subjects=data_subjects
)
Note: If your project has a training set, validation set and test set, you must annotate each data set with Auto DP metadata.
Step 5: Upload the Dataset
Once you have prepared your data, it’s time to upload it to the Domain
node. To help Data Scientists later search and discover our
datasets, we will add details like a name and a description of
what this dataset represents.
Note: If your project has a train, validation and test set, you need to add them as assets. In this case, it is just our age column.
In:

# run this cell
domain_client.load_dataset(
   name="Family_Age_Dataset",
   assets={
      "Age_Data": age_data,
   },
   description="Our dataset contains the Ages of our four Family members with unique ID's. There are 2 columns and 4 rows in our dataset."
)

Out:

Dataset is uploaded successfully !!!
Step 6: Check the Dataset
To check the dataset you uploaded to the Domain Node, go ahead and
run the below command, and it will list all the datasets on this
Domain with their Names, Descriptions, Assets, and Unique IDs.
In:

# run this cell
domain_client.datasets
Awesome 👏 !! You have uploaded the dataset onto your Domain Server!
By uploading the dataset onto the Domain Node, Data Owners are opening up the possibilities of different Data Scientists being able to study it without downloading it and without the Data Owners doing any experiment-specific work while Data Scientists are studying their private data.
What’s Next?
Alright, so we have walked through How to deploy a Domain Node and How to prepare and upload a dataset to that Domain Node so that Data Scientists can study our datasets without being able to download them.
In the following tutorial, we will see how Data Scientists can find datasets and work across all the different Domain nodes.