Creating User Accounts on your Domain Server
Data Owner Tutorials
◻️ 02-create-account👈
HAGrid Quickstart Setup
To run this tutorial interactively in Jupyter Lab on your own machine type,
you need to start a HAGrid Quickstart environment as follows:
pip install -U hagrid
hagrid quickstart data-owner
If you already have a HAGrid Quickstart environment operating, run the following to download the tutorials notebooks:
from hagrid import quickstart
quickstart.download(“data-owner”)
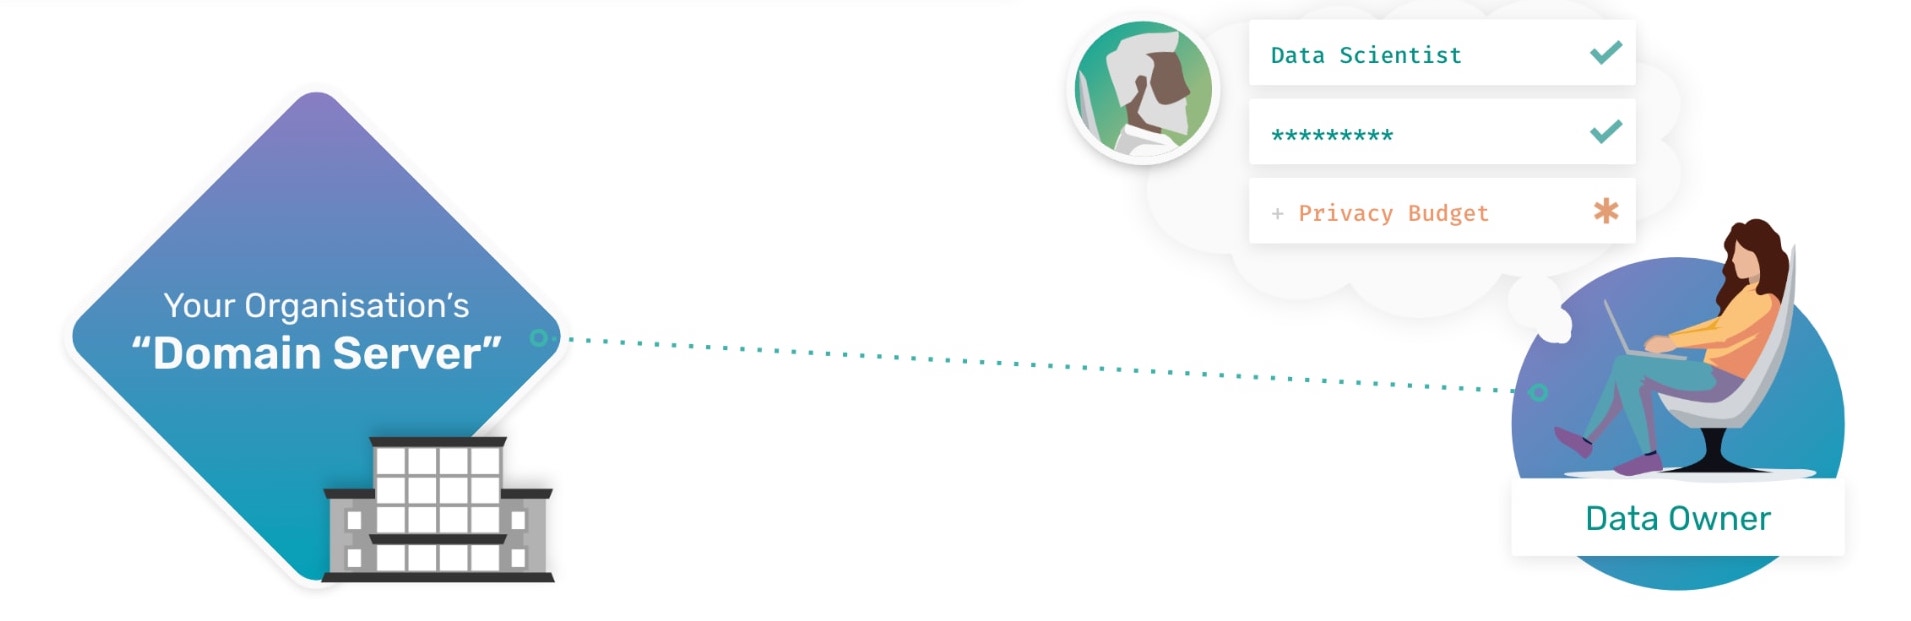
Domain Owners can directly create user accounts for Data Scientists to use their
domain nodes. When the domain owner creates a new user account, by default that user
will have the lowest level of permissions to access that data (means data is highly private)
and will be assigned 0 Privacy Budget.
In today’s tutorial we will learn how to create a user account, how to check permissions, and how to assign a privacy budget to that user. Then we’ll touch on why setting a privacy budget is important later in your workflow.
🚨 Pre-Requisites Steps
Before you can create user accounts on your domain, you have to first:
Note
The above prerequisite steps are covered in the previous tutorial How to upload private data to the Domain Node. Please execute those steps before implementing this tutorial.
📒 Overview of this tutorial
Import Syft & Login to Domain Server
Define account credentials
Check account permissions
Step 1: Import Syft & Login to Domain Server
To utilize the privacy-enhancing features offered in PyGrid and to
create an account for the user, you must first import OpenMined’s
private deep learning library: PySyft.
Let’s import Syft by running the below cell:
In:
# run this cell
try:
import syft as sy
print("Syft is imported")
except:
print("Syft is not installed. Please use the 🧙🏽♂️ Install Wizard above.")
Out: Syft is imported
To login to your Domain node, you will need to define which Domain you are logging into and who you are. In this case, it will take the form of:
IP Address of the domain host
Your user account Email and Password
Warning
info@openmined.org and changethis are the default admin credentials for any domain node that is launched by
the user in the documentation. Change the default email and password below to a more secure and
private combination of your preference.
In:

# run this cell
try:
   domain_client = sy.login(
      port=8081,
      email="info@openmined.org",
      password="changethis"
   )
except Exception as e:
   print("Unable to login. Please check your domain is up with `!hagrid check localhost:8081 --silent`")

Out:

Connecting to 20.253.155.183... done! Logging into openmined... done!
Lovely :) You have just logged in to your Domain.
Step 2: Create a User Account
After you have launched and logged into your domain as an admin, you can create user accounts for others to use.
Warning
In this case, we will create an account for a Data Scientist from within our own team or organization.
Note
You should only create direct user accounts on your domain node for those who have been
appropriately vetted and verified by your organization. To expand research done on your
datasets to those not directly within or verified by your organization, you should connect
your domain to one or more networks so that proper verification measures have been taken.
You can learn more about this in our “Connect Your Domain to a Network” tutorial.
There are three different ways for a new user account to be created on your domain.
Option A, by a Domain Owner creating a new user account and specifying their credentials directly through the notebook API.
Option B, by a Domain Owner creating a new user account and specifying their credentials through PyGrid’s default UI interface.
Option C, by a potential user finding or being given the Domain node’s profile URL and submitting an application that a Domain Owner can triage. (This functionality is currently in Beta).
Note
In all three cases, the user of your domain will be assigned the role of Data Scientist by default.
A. Using PySyft: Create account from Domain Client
To create a Data Scientist account for someone within your team or organization, you need to tell your Domain 4 things:
Name: Name of the individual
Email: Associated email address of the individual
Password: Password they would need to login into your domain (this can be changed later when they customize their
account settings)Budget: When you specify a
budget, you assign this account with aprivacy budgetof0. This privacy budget, set in units ofepsilon, is the limiter that blocks a data scientist from knowing too much about any one data subject in your dataset.Note: In future exercises, we will explore how privacy budget limits affect data subject visibility. Still, for now, we will set the
privacy budgetto its default of0(means data is highly private), the lowest level of permission to access the data. Also, by default, the role assigned to a user is a Data Scientist.
In:

# run this cell
data_scientist_details = domain_client.create_user(
   name="Jane Doe",
   email="jane@email.com",
   password="supersecurepassword",
   budget=0
)

Out:

User created successfully!
Once you have created an account, you can verify if the user account was made successfully.
In:

# list the users that have registered to the domain
domain_client.users
Print the details of the account you created and share the credentials with the Data Scientists.
In:

# run the cell then copy the output
print("Please give these details to the Data Scientists ⬇️")
print(data_scientist_details)

Out:

Please give these details to the Data Scientists ⬇️
{'name': 'Jane Doe', 'email': 'jane@email.com', 'password': 'supersecurepassword', 'url': '20.253.155.183'}
B. Using PySyft: Create account from Domain URL
A user can also sign-up or create an account on a Domain node if they have access to the URL to the Domain.
Instead of creating an account individually for each Data Scientist, a Data Owner can share the URL to their
Domain node and ask their team members to register to the Domain.
To register to a Domain, you need the following details:
Name: Name of the individual
Email: Email of the individual that will be used to log into the Domain
Password: A secured password to log into the Domain
Url: Url to the domain node.
Port: Port number
In:

# run this cell
import syft as sy
domain_client = sy.register(
   name="Jane Doe",
   email="jane@email.com",
   password="supersecurepassword",
   url="localhost",
   port=8081
)
On successful registration, the user is auto-logged into the domain.
Note
By default the role assigned to the registered user is of a Data Scientist and the assigned privacy budget is 0. The future tutorial series will cover a better explanation of setting the privacy budget.
C. Using PyGrid UI: Create account as a Domain Admin
PyGrid’s UI is meant to help Domain Owners get a bigger picture view of their domains and manage them.
When we use the hagrid launch command to start our private data server, we define the port where
we want to launch the server. By default, the port is launched at 8081.
Note: Make sure your docker application is up and running in the background.
We will use this port number to visit the following UI interface at the URL:
http://localhost:<port_number>

e.g.

http://localhost:8081
Once you are on PyGrid’s web page, execute following steps to create an account for Data Scientist:
Warning
info@openmined.org and changethis are the default admin credentials for any domain node that is launched by
the user in the documentation. Change the default email and password below to a more secure and
private combination of your preference.
Login using your admin credentials (Email: info@openmined.org | Password: changethis)
Create a new user account by clicking on the
+ Create Userbutton- Specify the following fields
Name: Name of the individual
Email: Email of the individual that will be used to log into the Domain
Password: A secured password to log into the Domain
Role: Assign them the role of Data Scientist (By default user account will take the role with the lowest amount of permission which in this case is the Data Scientist role.)
Set appropriate Privacy Budget (By default, they have
0eprivacy budget)
Step 3: Check Permissions
Now that we have created an account for our Data Scientist, let’s check to see if it was made and if we need to change any permissions.
Note
Permissions are determined by the role a user has been assigned by the Data Owner.
By default a user will be created with the role with the lowest set of permissions.
To simplify the concepts, let us consider the below scenario.
Scenario
Let’s login to our PyGrid’s UI as we did earlier when we had to create an account
for the user in the prior steps. On the homepage, go to the Permissions tab,
where you will notice the different roles and associated permissions with them.
Note
Each role has a set of default permissions, but they can be changed according to the norms of each organization.
Data Scientist (default): This role is for users who will be performing computations on your datasets. They may be known users or those who found your domain through search and discovery. By default, this user can see a list of your datasets and can request to get results. This user will also be required to sign a Data Access Agreement if you have required one in the Domain Settings Configurations.
Compliance Officer: This role is for users who will help you manage requests made on your node. They should be users you trust. They cannot change domain settings or edit roles but are, by default, able to accept or deny user requests on behalf of the domain node.
Administrator: This role is for users who will help you manage your node. These should be users you trust. The main difference between this user and a Compliance Officer is that this user, by default, not only can manage requests but can also edit Domain Settings. This is the highest level of permission outside of an Owner.
Owner: Only one Owner account is assigned to any domain node. The owner account is the highest level permission and is a requirement for deploying a domain node. If you ever want to transfer ownership of your domain node to someone else, you can do so by following these steps.
Suppose you created a user account for a person named John Smith; by default,
the role assigned to John will be a Data Scientist. But you want to change the
role of John to Data Protection Officer instead of a Data Scientist.
Select the user and click on its name.
Go to
Change role, and in the drop-down option, selectCompliance Officer.You can see the permissions given to the Compliance Officer below their role. The default permissions can be changed in the
Permissionstab, as shown in the above image.Click
Change Role, and the role of John Smith has now successfully changed to the Compliance Officer.